
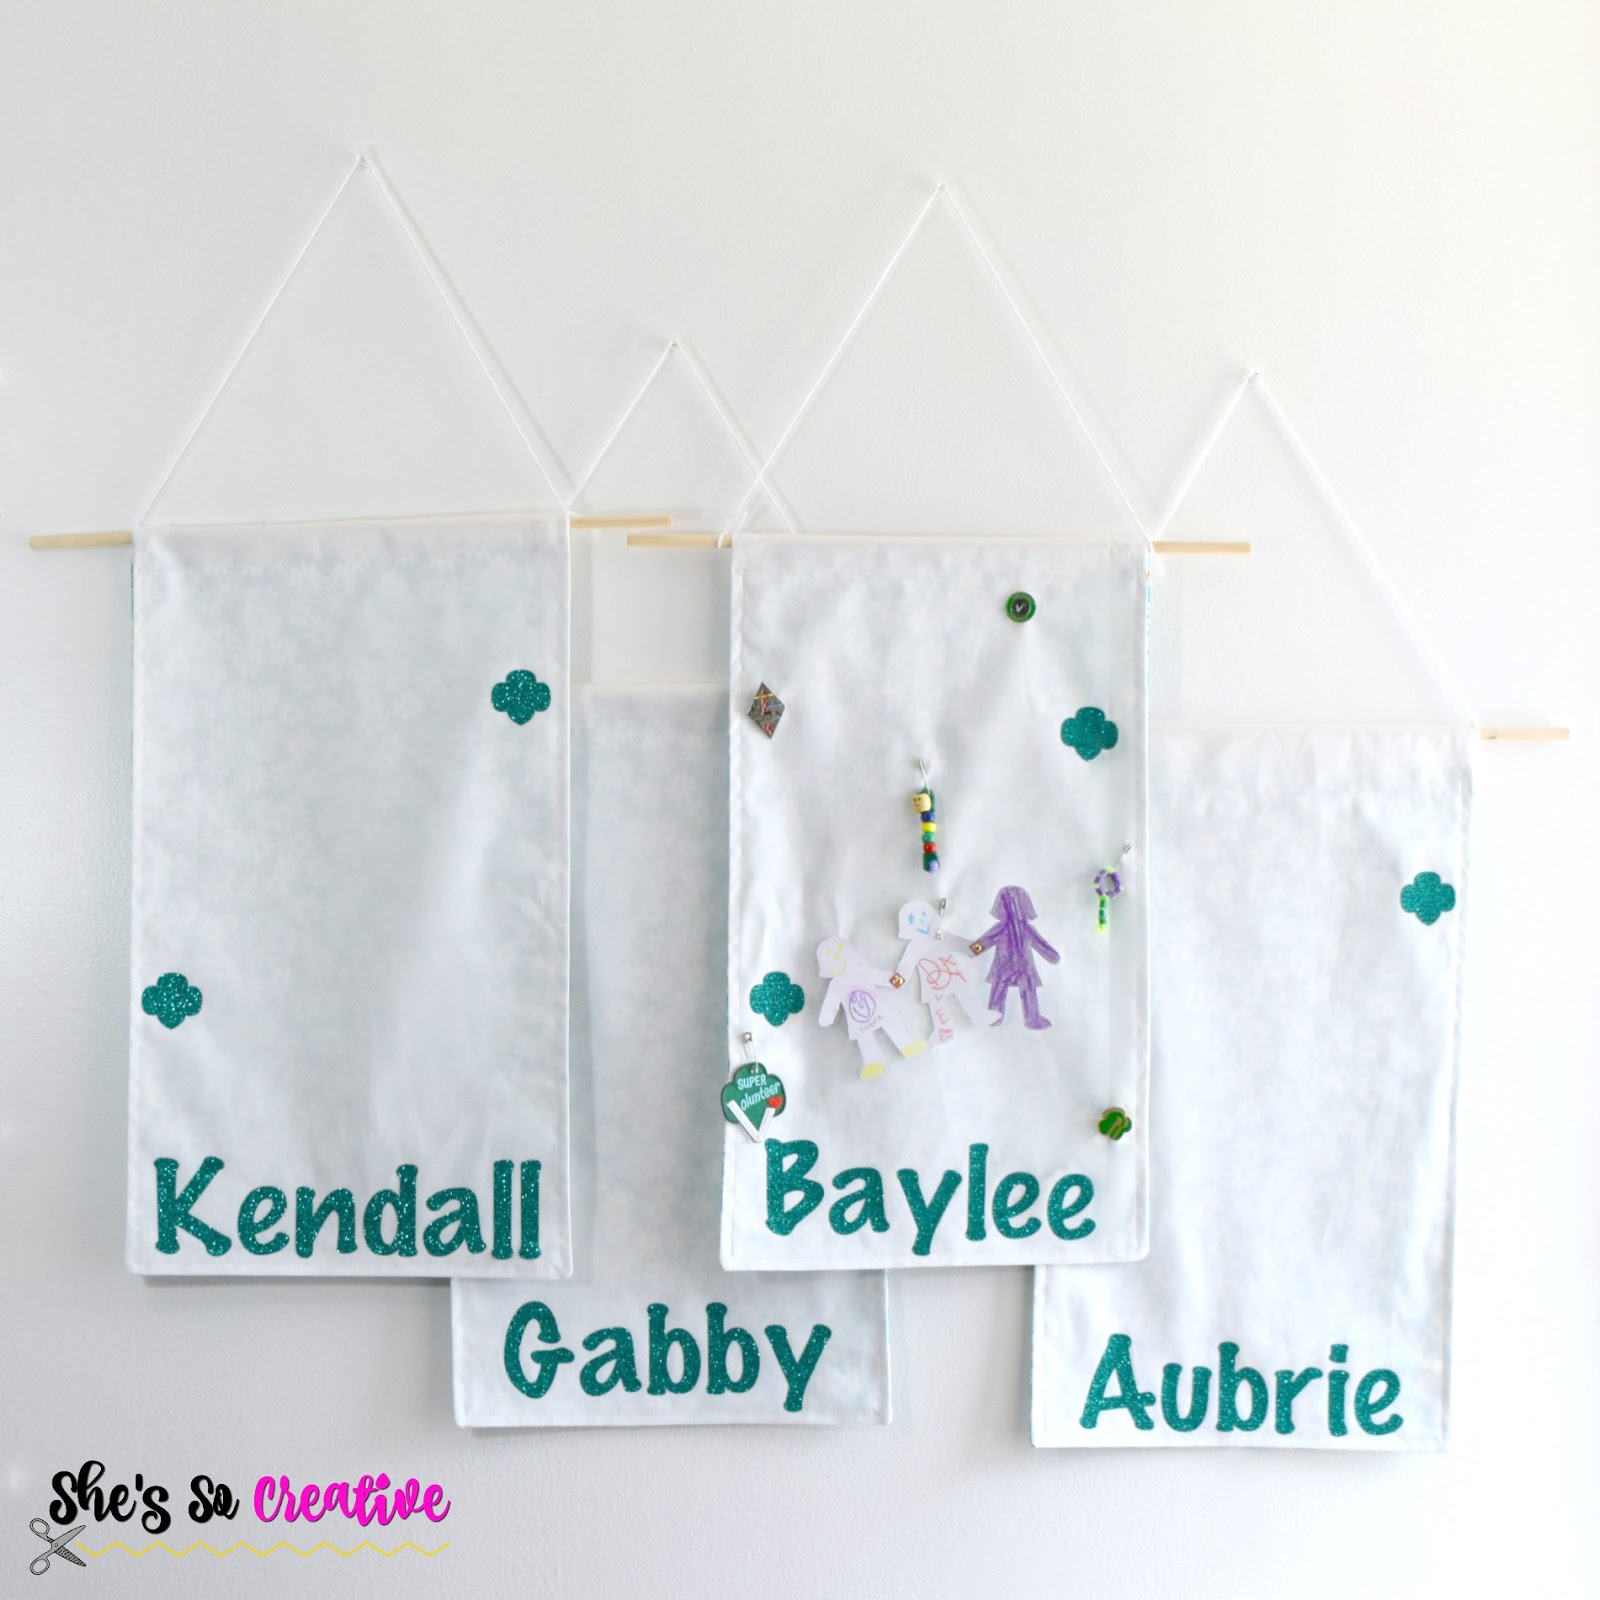
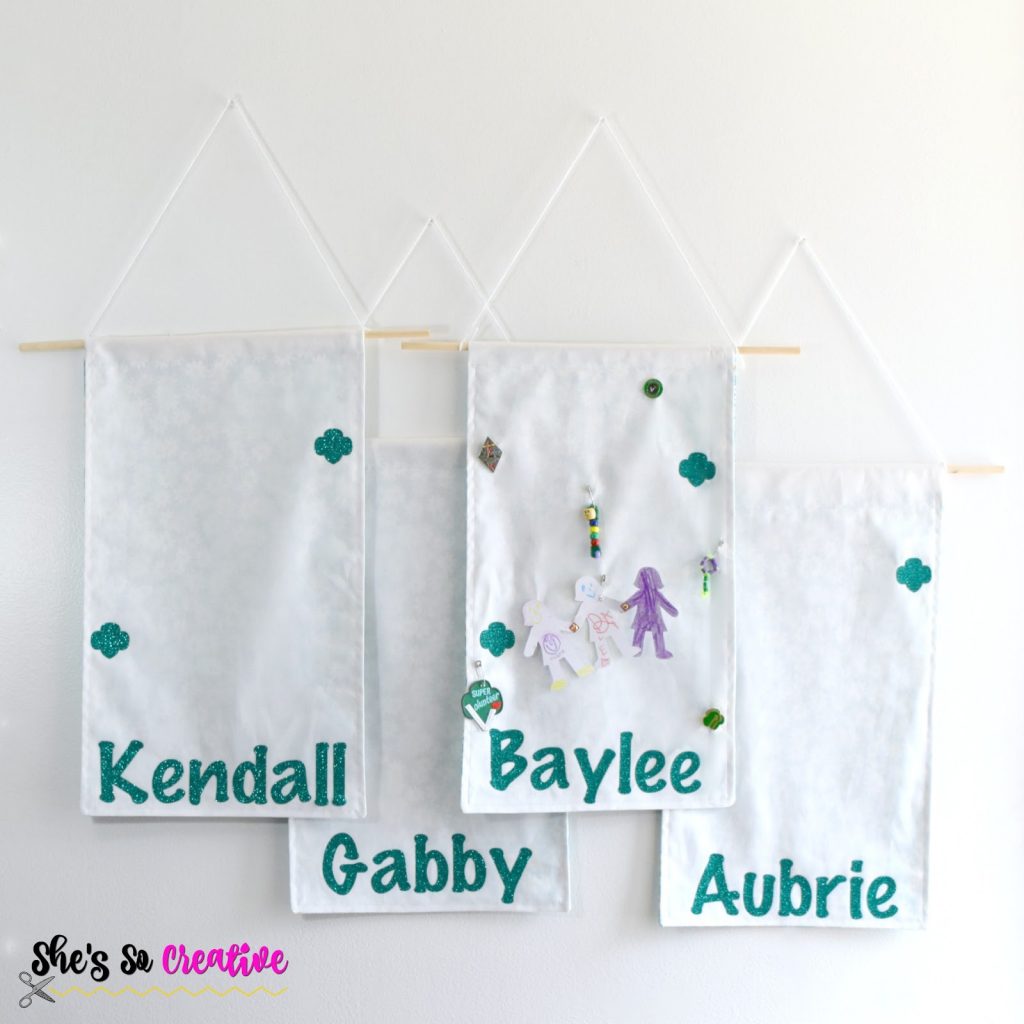
My daughter recently joined the Girl Scouts, so I made her this cute Scout Keepsakes Mat. The great thing is that this enamel pin wall display mat can be used Girl Scouts, Boy Scouts, or anyone that collects pins!
I wasn’t a Girl Scout when I was a little girl, so I had no idea about SWAPS, Pins, and Special Badges. It’s been so much fun to learn all about how Girl Scouts works and about all the fun activities they can do.
At no extra cost to you, I may receive a small commission from purchases made through affiliate links, which allows me to continue bringing you awesome free content! This post contains affiliate links.
We made SWAPS during our first meeting, but at this time we were a jump start troop, so I didn’t know what they were. I didn’t understand their significance at the time, so I admittedly didn’t take very good care of them (and now they’re missing *sad face*).
Once me and my co-leader took over, I learned exactly what they were, and I knew we had to have a special way to display them (and all of those fun pins and any badges that may not fit on the back of a vest).
I had seen a cute insignia shaped mat on Pinterest and loved the idea! I headed to Joann Fabric and Craft Stores for some materials. I found super cute Daisy print cotton in the remnants bin and immediately knew I had to have it (our girls are currently Daisies). I headed over to check out the felt selection, but when I got into that aisle I saw the utility fabrics and thought that would be so much better because it won’t pill or fluff up.
One yard of cotton fabric and 1 1/4 yards of utility fabric yields 6 mats (I only made four, but have enough left to make 2 more).
Let’s get started on your Scout Keepsakes Mat!

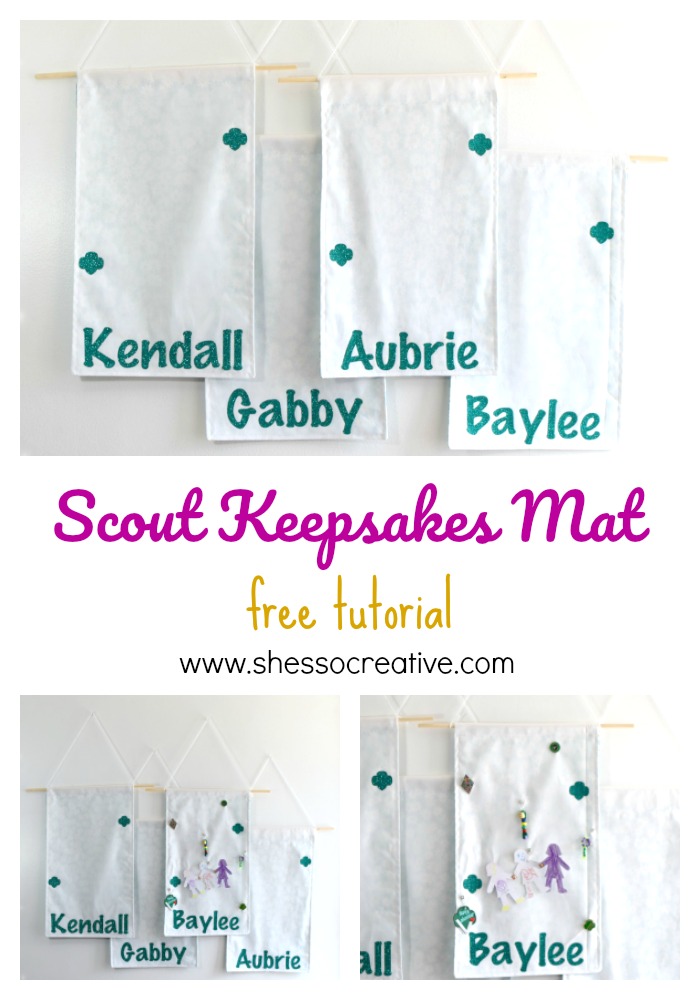
Materials
5/8yd White Utility Fabric
1/2yd Quilter’s Cotton (Girl Scouts print on Amazon)
Green Iron-on Glitter Vinyl
5/16″ x 18″ Wooden Dowels (we cut these in half)
Yarn or Twine (25″ per mat)
Cutting Machine (I used the Cricut Maker)
Sewing Machine
Machine Thread (I like Gutermann)
Machine Needle
Scissors
Rotary Cutter (I have this Olfa)
Iron or Heat Press (The Cricut Easy Press is a great option!)
Finished Measurements
11″ x 18″
Skill Level
Beginner
Craft Time
2 – 3 Hours
Notes
- 1/2″ seam allowance used throughout
- Always attach fabrics with right sides together.
- This tutorial does focus on cutting machine instructions, but you can purchase iron-on letters and shapes from most craft stores as well.
Instructions
Cut Cotton fabric into 12″ x 18″ pieces. — Cut the Utility fabric into 12″ x 21″ pieces.
Lay the fabrics right sides together; line them up along the bottom, leaving a longer edge of utility fabric at the top.
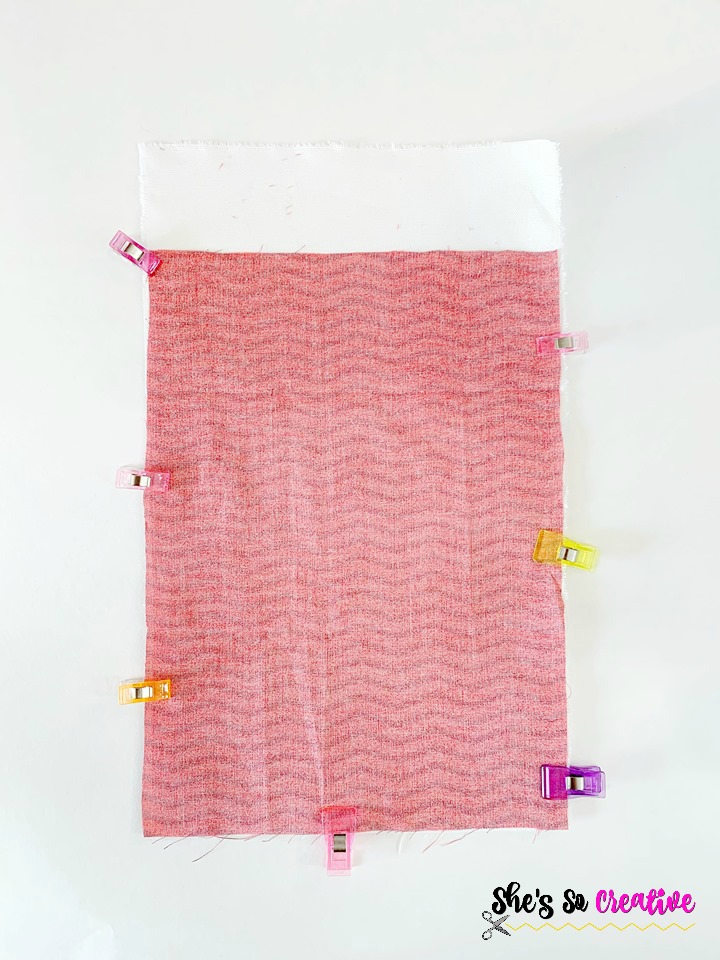
Using 1/2″ seam allowance, sew three sides of the cotton fabric to attach to the utility fabric (down the side, across the bottom, up the other side). This should leave a 3″ overhang of utility fabric.
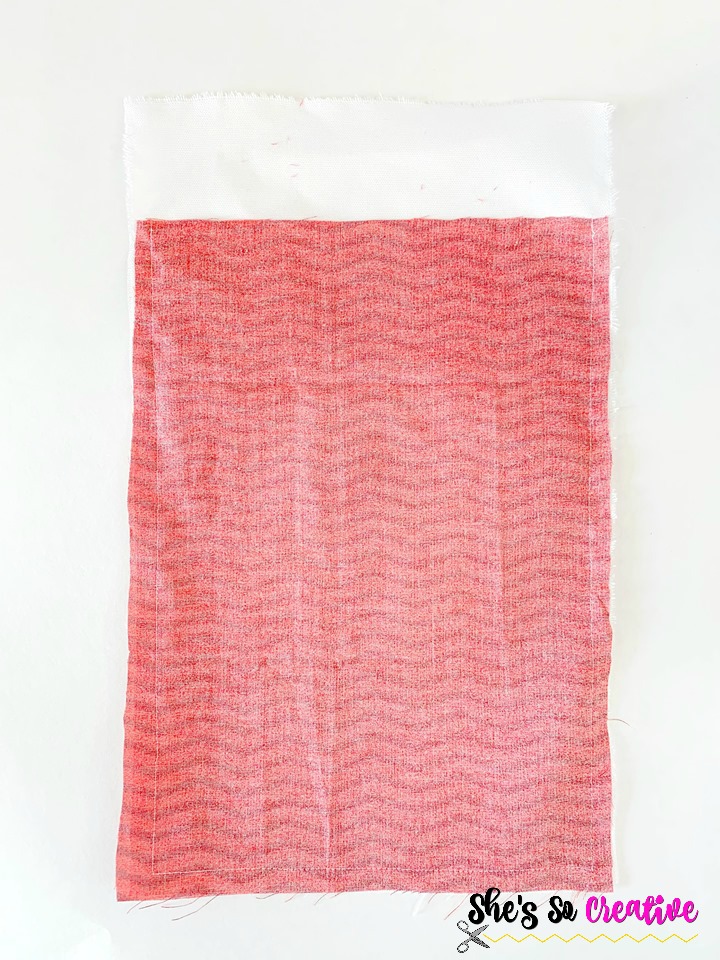
Clip the bottom corners (be careful not to cut your threads) and turn right sides out. Push out corners out with something pointy, like a pencil.
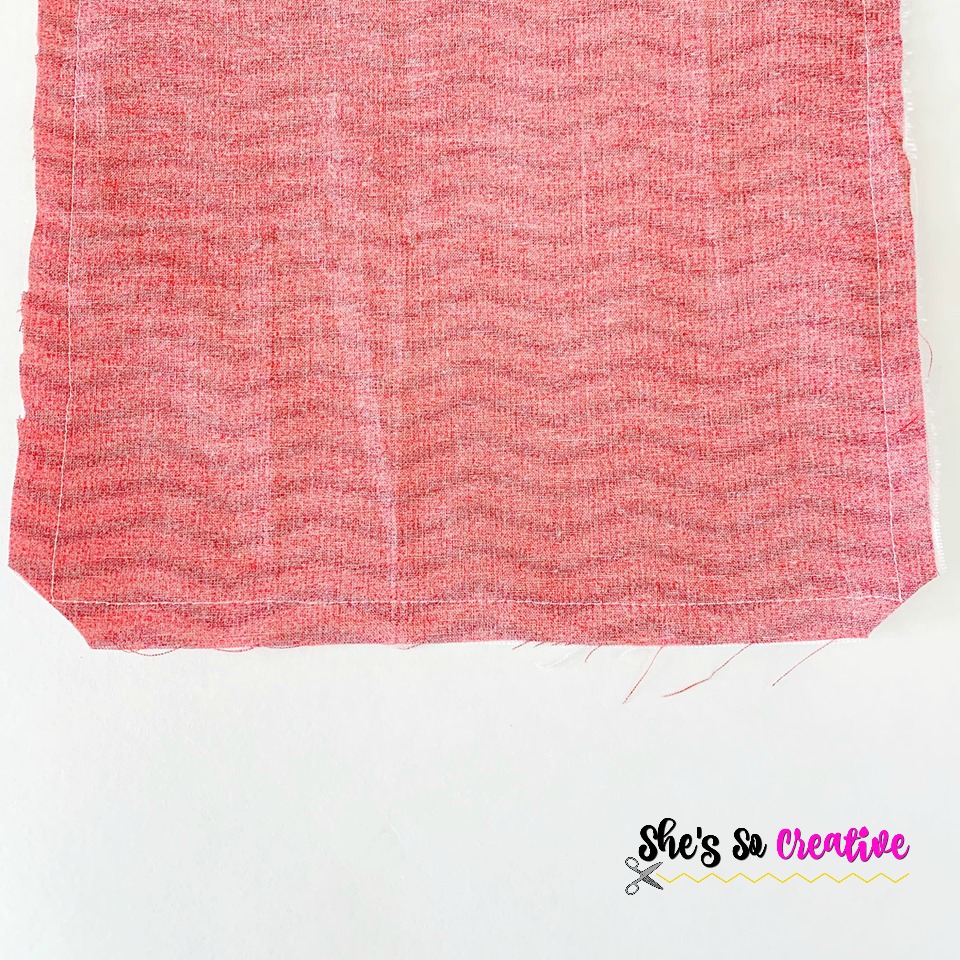
Iron seams to flatten; the side edges of the utility fabric (overhang), will be curled in, so iron those flat as well.
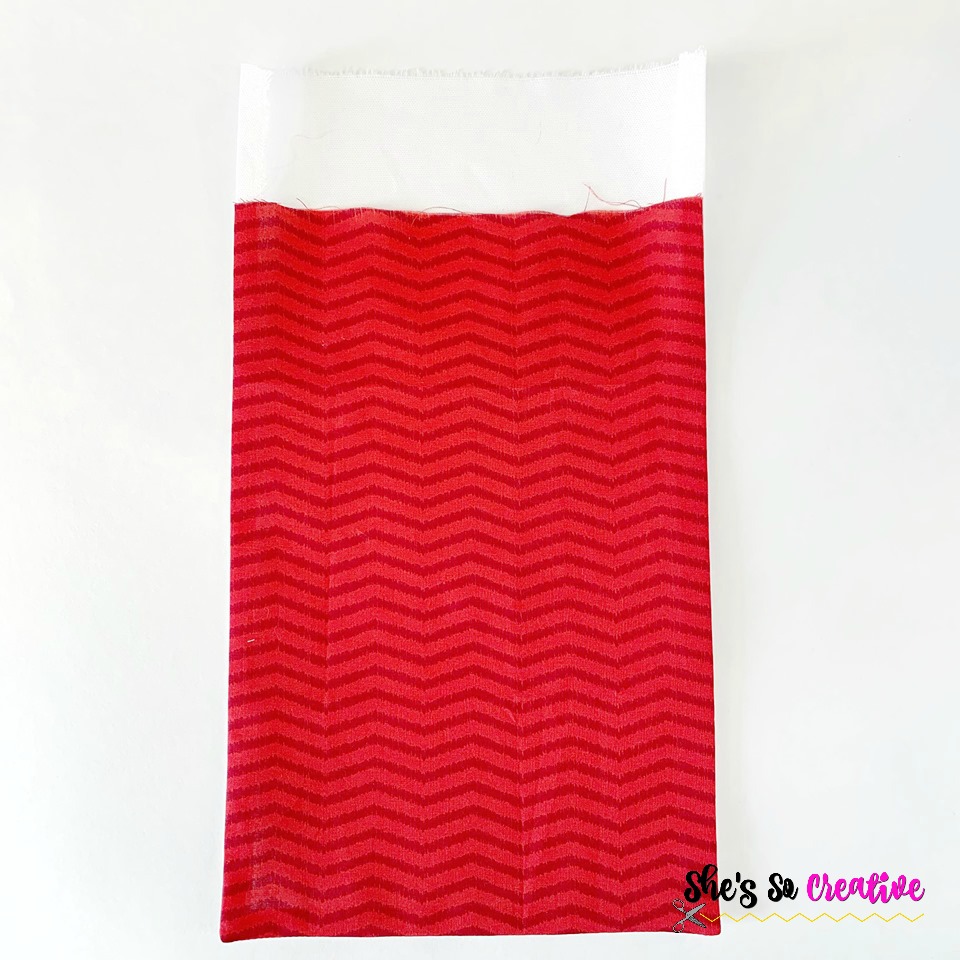
Topstitch 1/4″ around the same 3 sides; start at the top edge of the utility fabric (overhang) and down the side, across the bottom, and up the other side to the overhang.
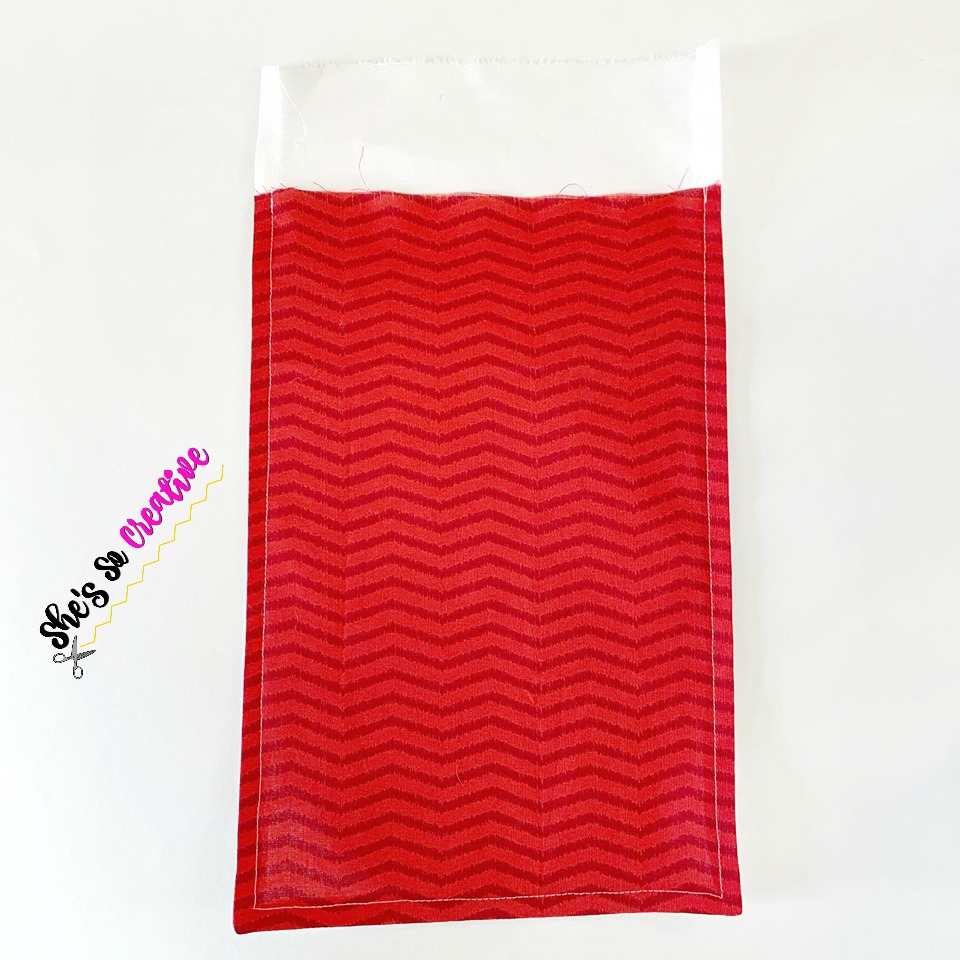

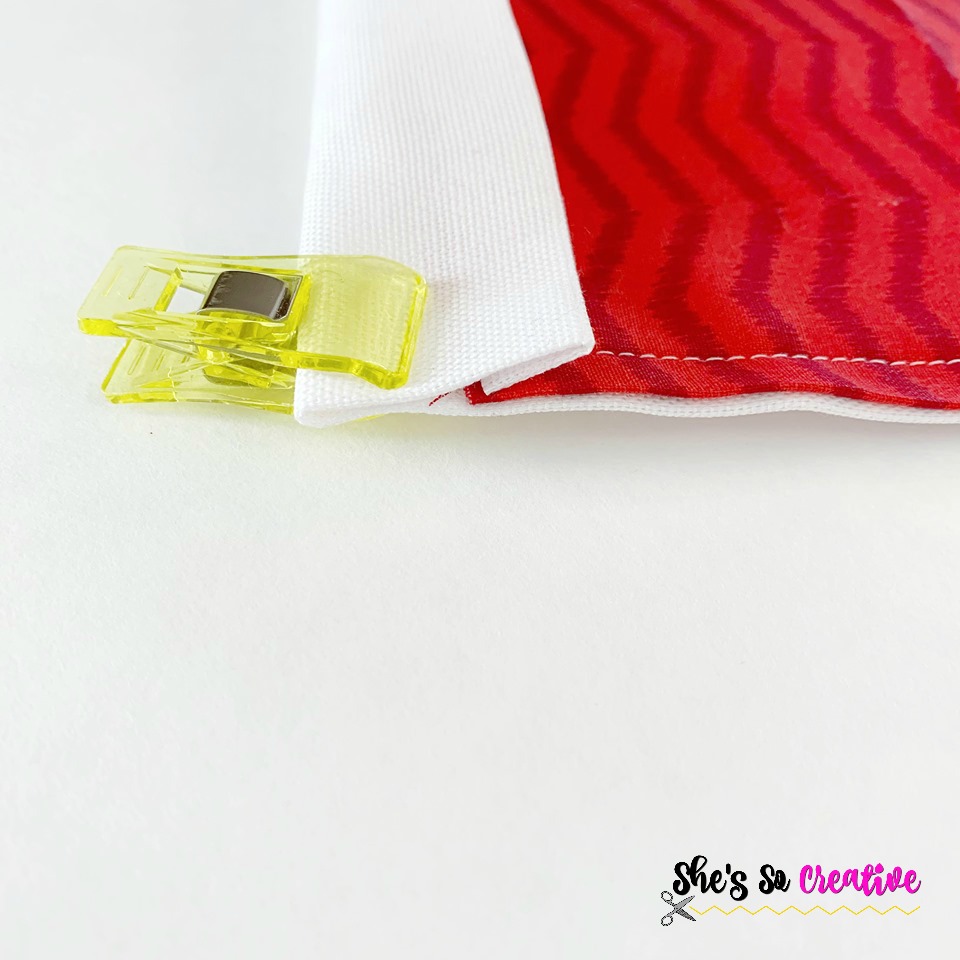
Fold the top edge of the utility fabric over 1/2″ and iron.
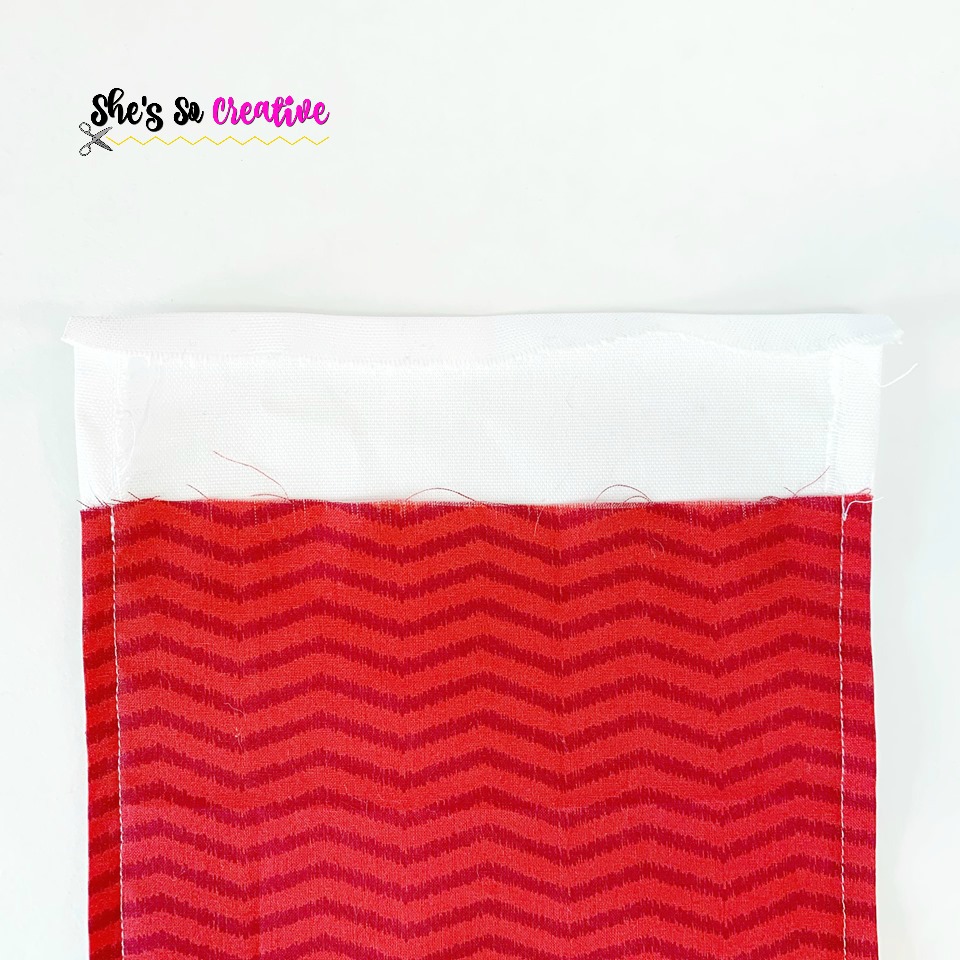
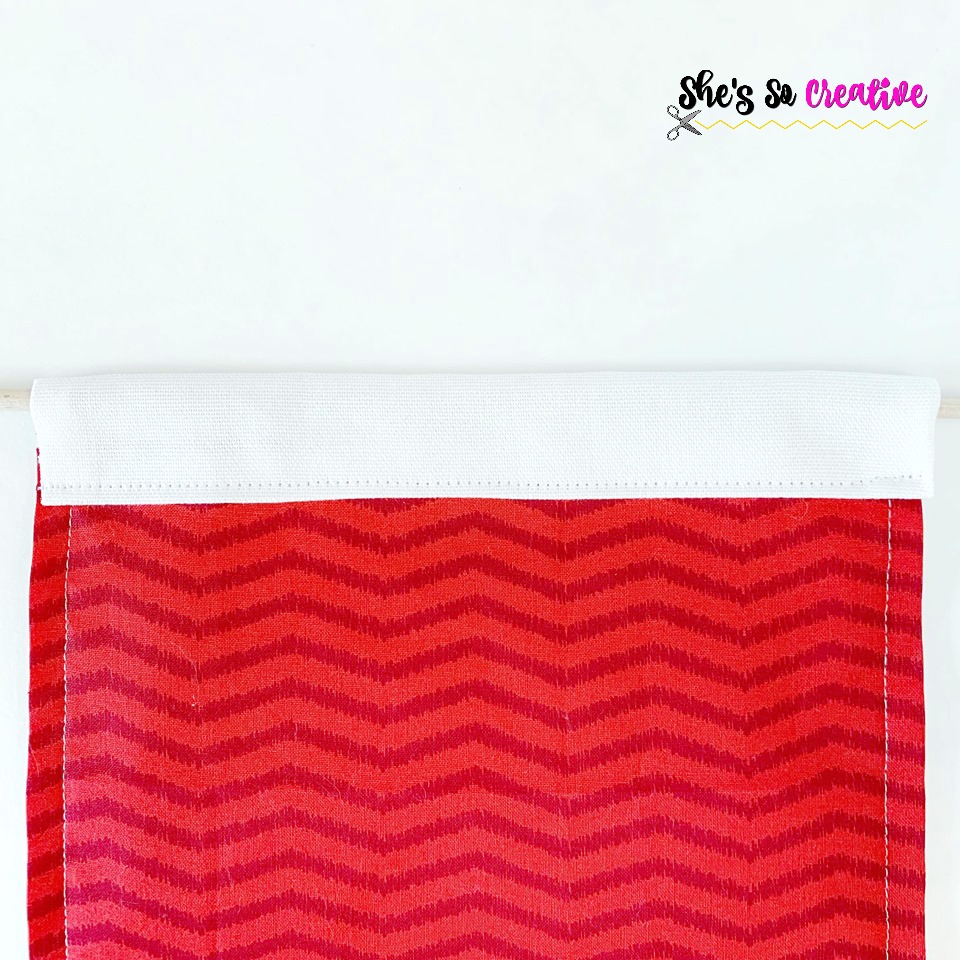
Bring the folded top edge of the utility fabric onto the top edge of the cotton fabric, pin it in place, and sew across the top edge of the cotton fabric (and folded portion of the utility fabric). <Hanger Created>
Customize your Scout Keepsakes Mat
Using Cricut Design Space (or your cutting machine’s design program), cut out fonts and trefoils.
Iron your names across the bottom and your trefoil in your desired locations. (Follow your iron-on vinyl’s package instructions). It would also be fun to add your troop numbers!
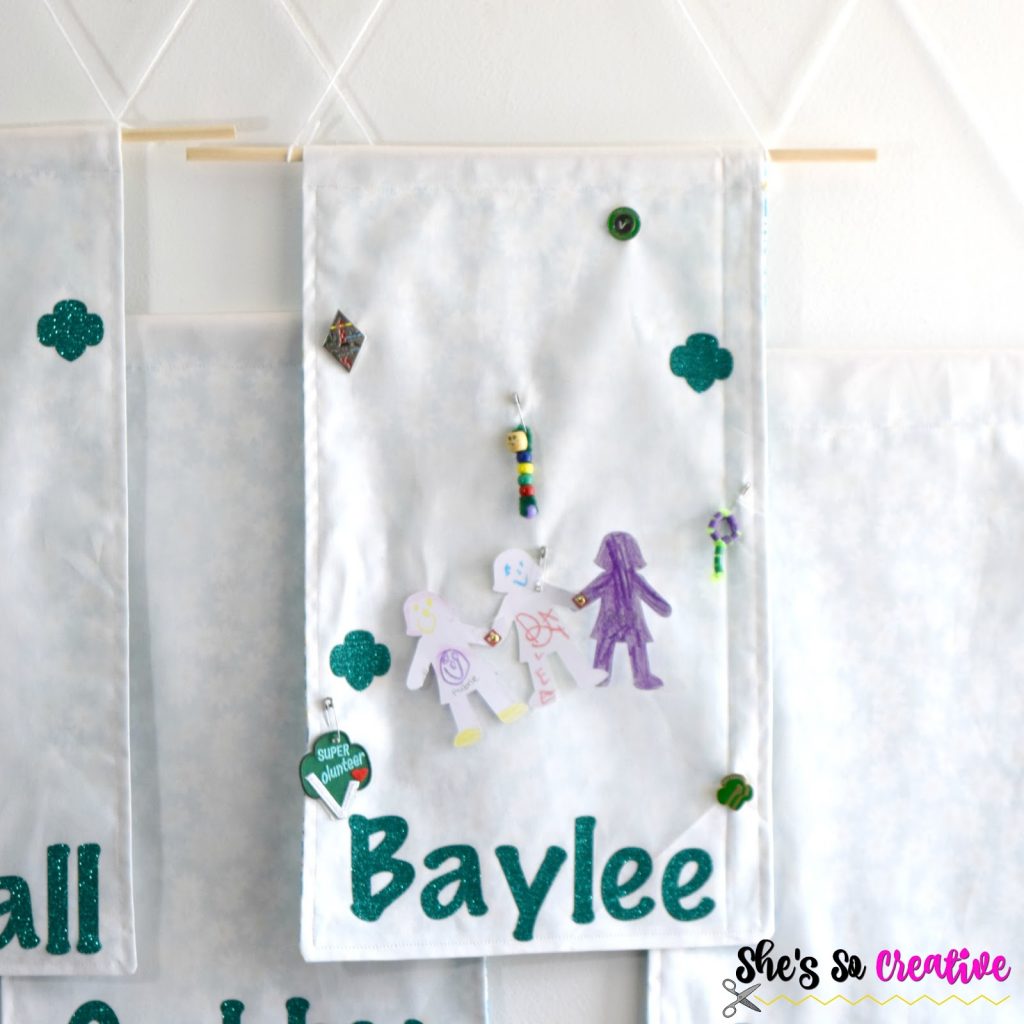
I couldn’t find a trefoil in Design Space, so I found one in Google Search and uploaded it. I used the font Marker Felt for the girls names.
Insert a wooden dowel into the space of the folded utility fabric.
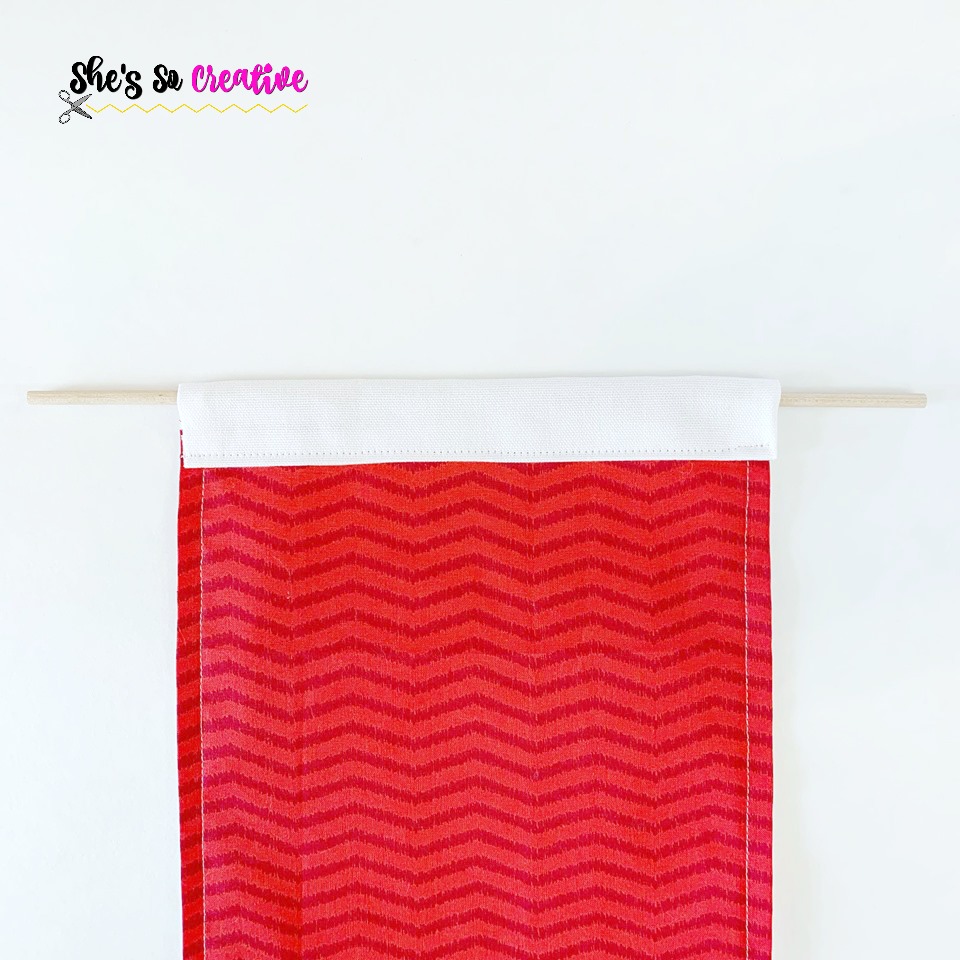
Cut 1 – 25″ piece of yarn and tie the ends to the dowel, one on each side of the mat.
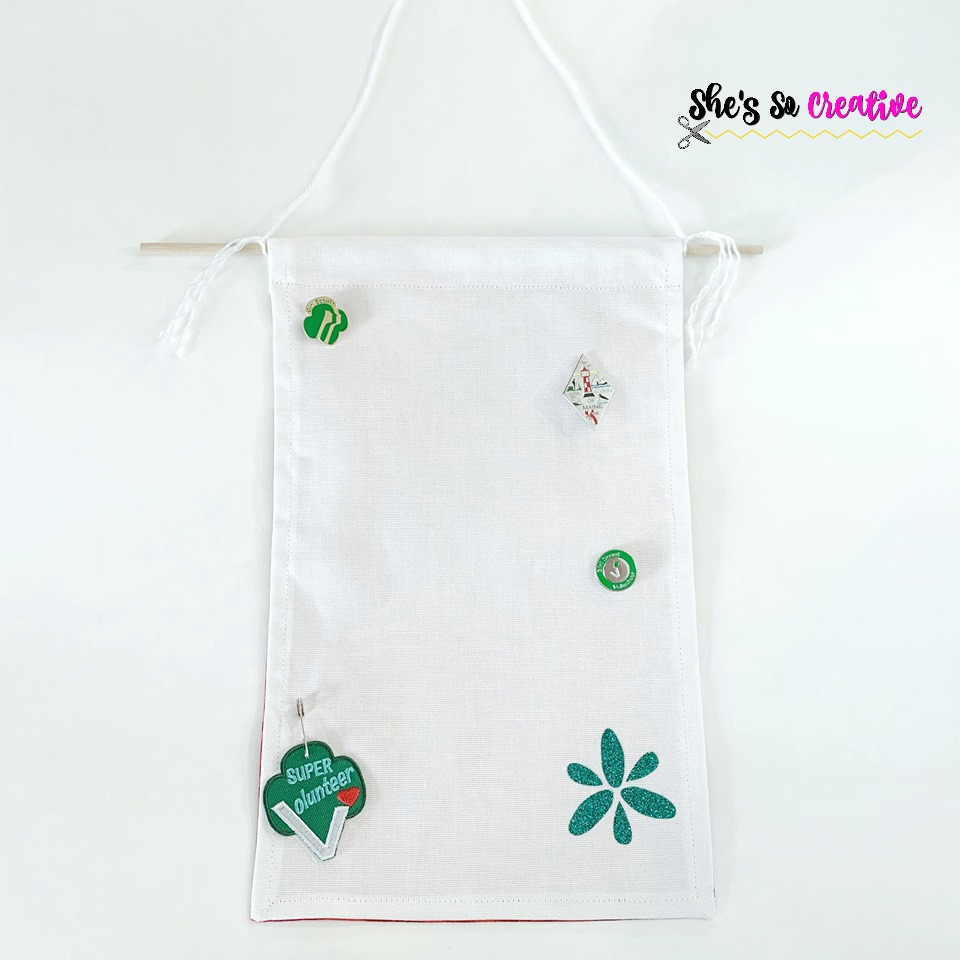
And there you have a Scout Keepsakes Mat for your enamel pin collections!
Easy Peasy! Once you get through the first, you’ll zip right through them. I worked them in assembly line style. I cut all of the fabric first, sewed them all next, then did the vinyl. It didn’t even take me the time I listed above, but I wanted to overestimate to make sure you had enough time.
I hope you like this tutorial! I’d love for you to show it some Pinterest love!
Don’t forget to like me on Facebook and you can even join the She’s So Creative Crafter Community group!

Written pattern and photographs © 2019 Sonya Blackstone of She’s So Creative. Please do not sell, share, or modify this pattern, but instead share the link to where the pattern can be found. Do not use these photos for advertising without written permission. Do not post this tutorial on your own website without written permission. You may sell any finished items you create using She’s So Creative tutorials.
Sonya Blackstone is a participant in the Amazon Services LLC Associates Program, an affiliate advertising program designed to provide a means for us to earn fees by linking to Amazon.com and affiliated sites.