
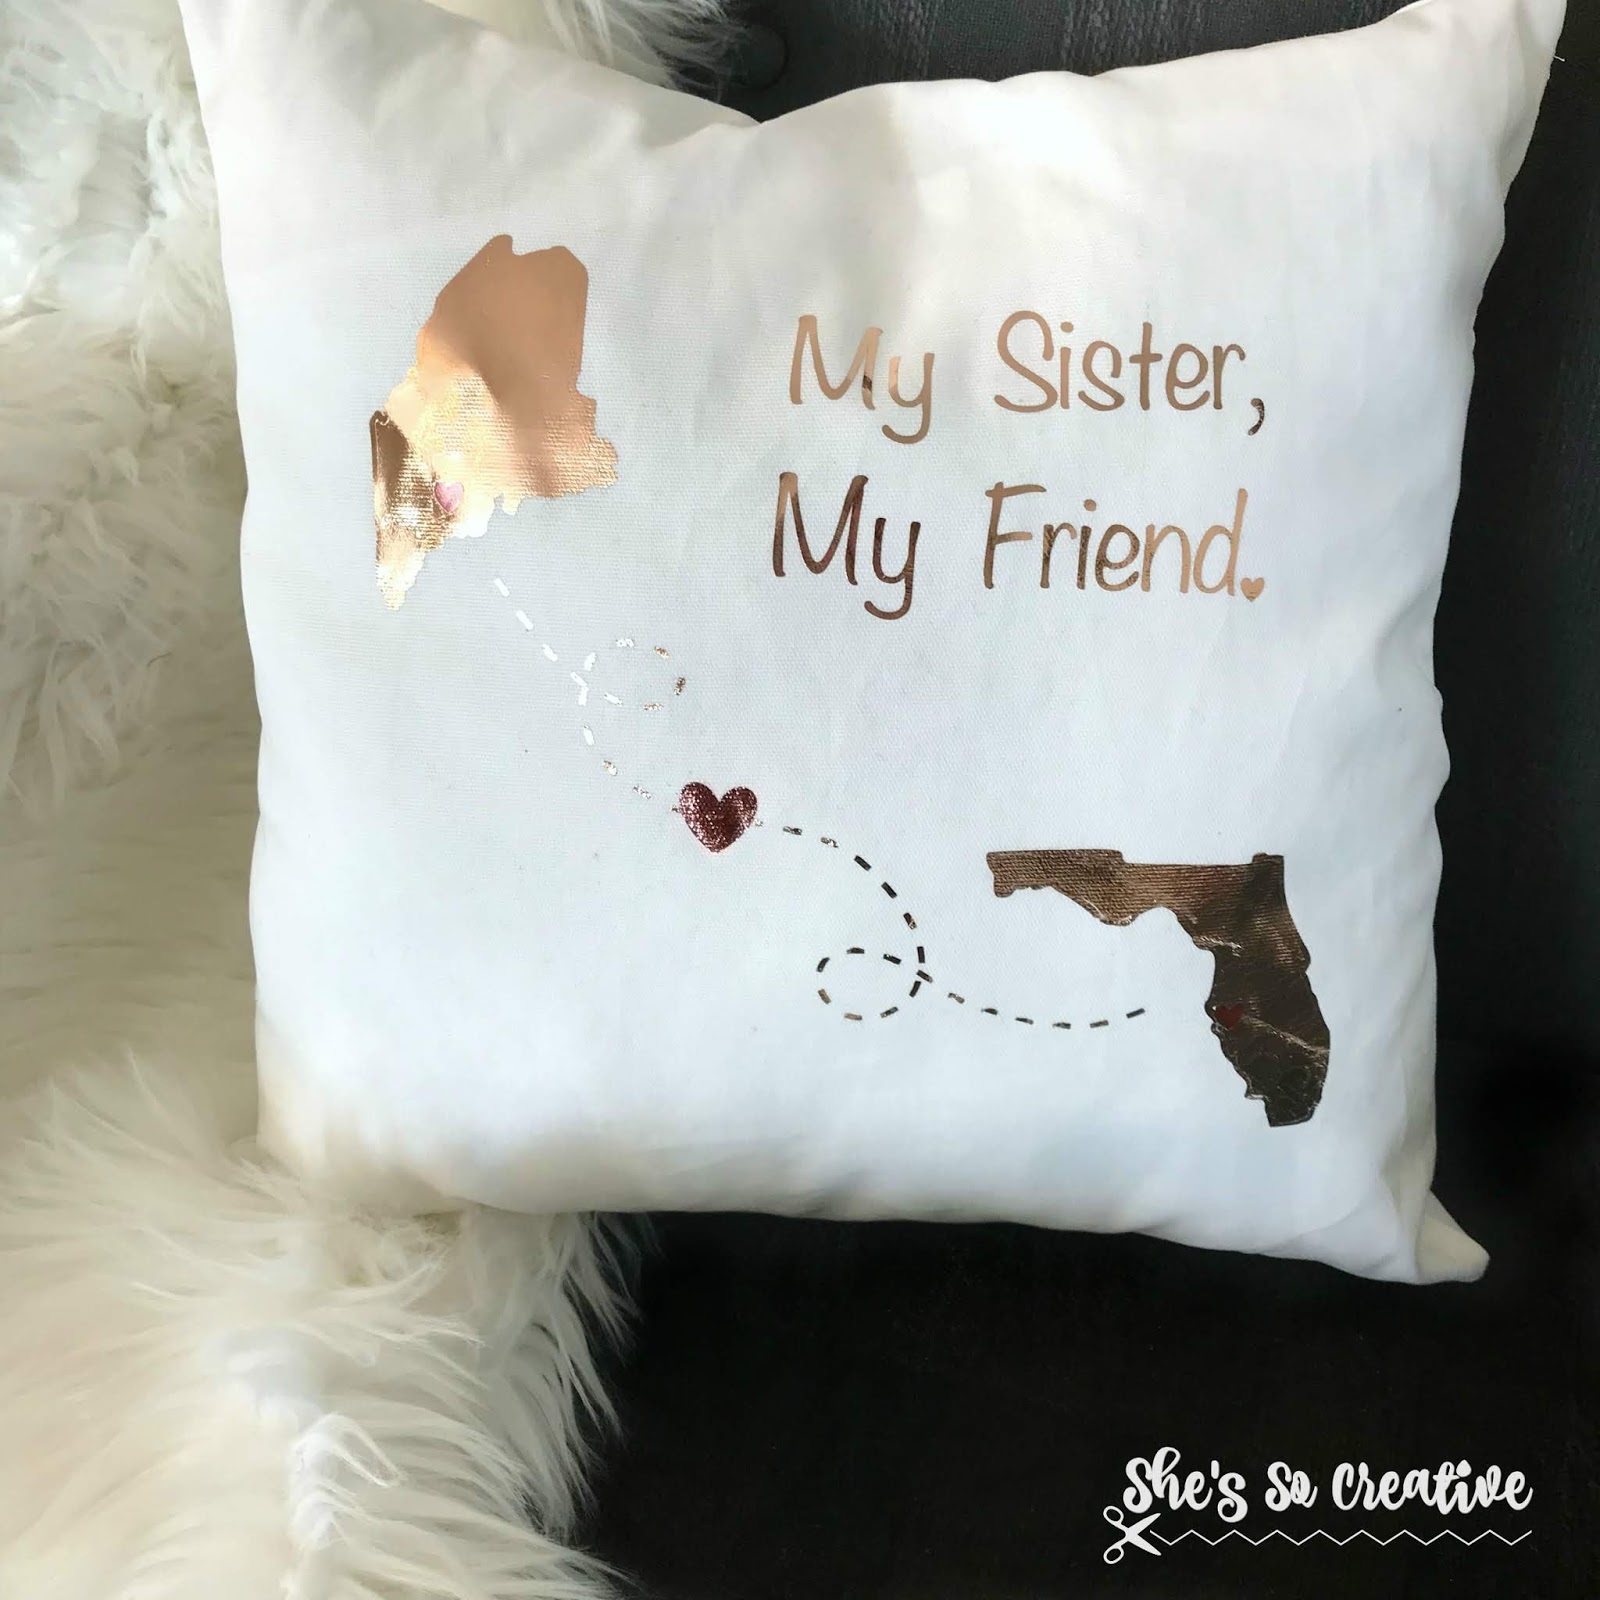
“Family forever, never apart, maybe in distance, but never in heart”: this quote was the inspiration for the My Sister, My Friend Pillow Cover project!
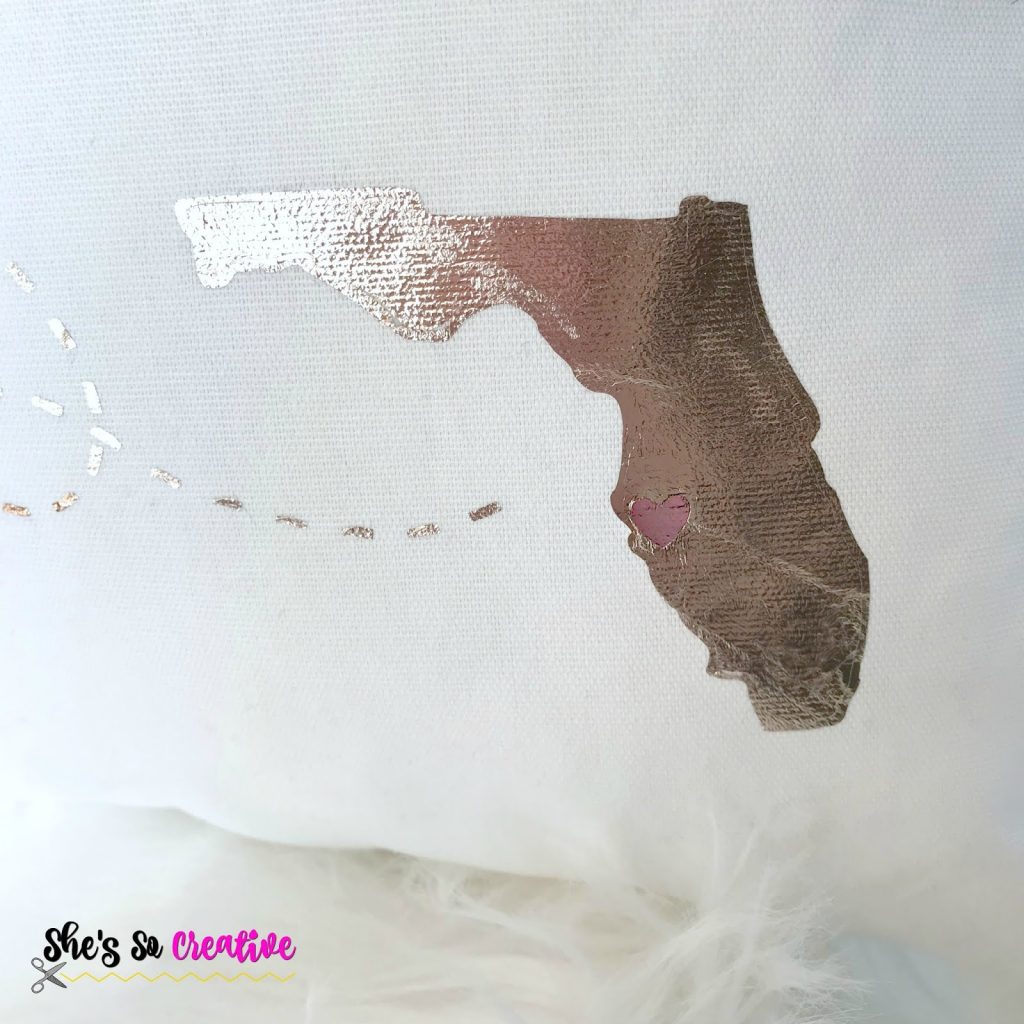
My sister moved to Florida a few years ago and I have always wanted to make something for her based around the above quote.
At no extra cost to you, I may receive a small commission from purchases made through affiliate links, which allows me to continue bringing you awesome free content! This post contains affiliate links.
I had seen similar projects and I just knew a pillow would be perfect!
The phrase “My Sister, My Friend” is a quote we cherish because the song of the same name by Reba McEntire is our song, so that had to be included.
Here’s how I made the My Sister, My Friend Pillow Cover:
Materials
1/2yd White Utility Fabric
Iron-on Foil
- Rose Gold
- Pink
16″ Square Pillow Form
Cutting Machine (I used the Cricut Maker)
Sewing Machine
Machine Thread
Needle
Scissors
Iron or Heat Press (The Cricut Easy Press is a great option!)
Finished Measurements
16″ x 16″
Skill Level
Easy
Craft Time
2-3 Hours
Notes
- 1/2″ seam allowance used throughout
- Always attach fabrics with right sides together.
- This tutorial does focus on cutting machine instructions, but you can purchase iron-on letters and shapes from most craft stores as well.
Instructions
Go to Cricut Design Space (or your cutting machine’s image library) and search for your state(s). I couldn’t find exactly what I wanted, so I went to Google Search and found what I was looking for there, saved the images to my computer, and then uploaded them as cut files.
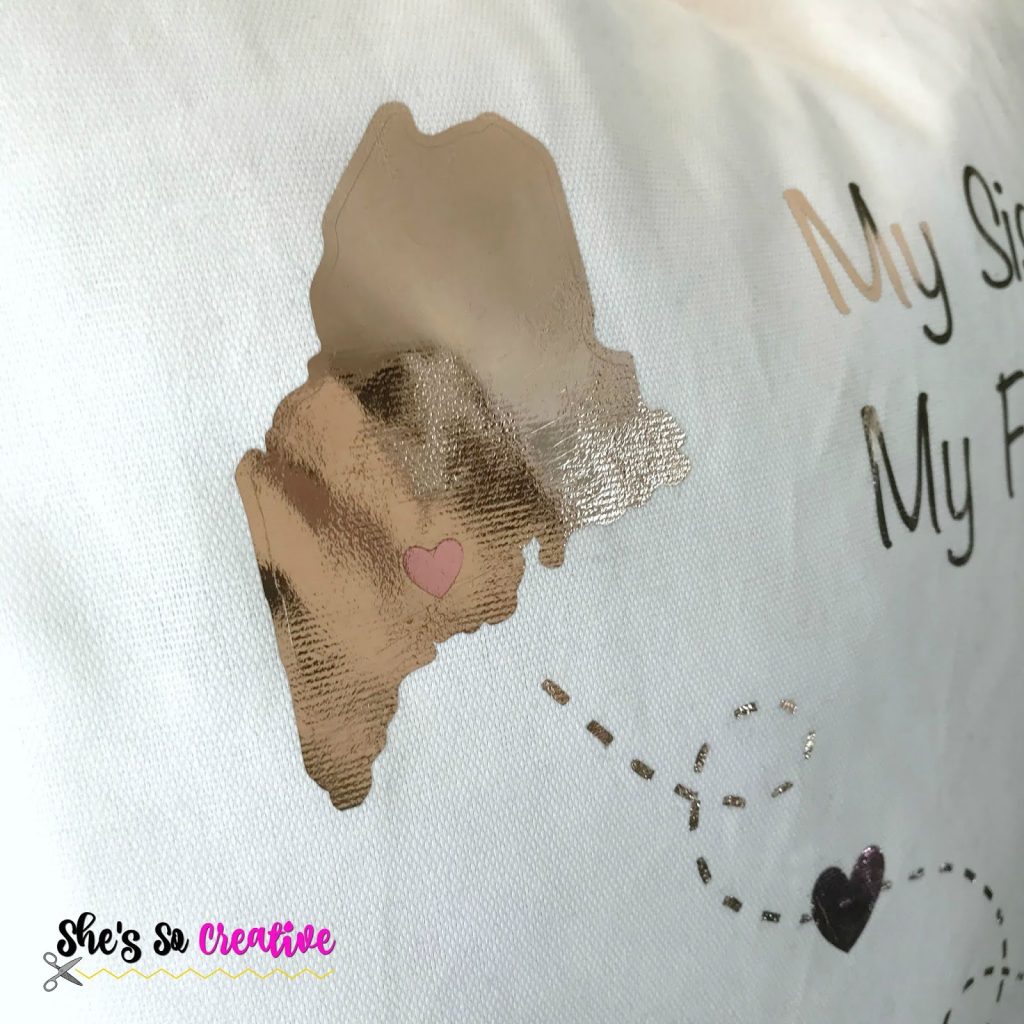
Repeat this with hearts and the swirly dash line (I had to get the line from Google Search as well).
Go into the “new project” screen and set up your states as you want them to look, connect them with the swirly line.
Place a heart in the center of the dotted line. I also added a tiny heart over the area where we live here in Maine, where she lives down in Florida, and as a period at the end of the phrase. Make sure you set the hearts to a different color, so they print out on your Pink foil and not all from the Gold foil.
Next, add your message. I used the font “Noteworthy”, which is a system font from my computer.

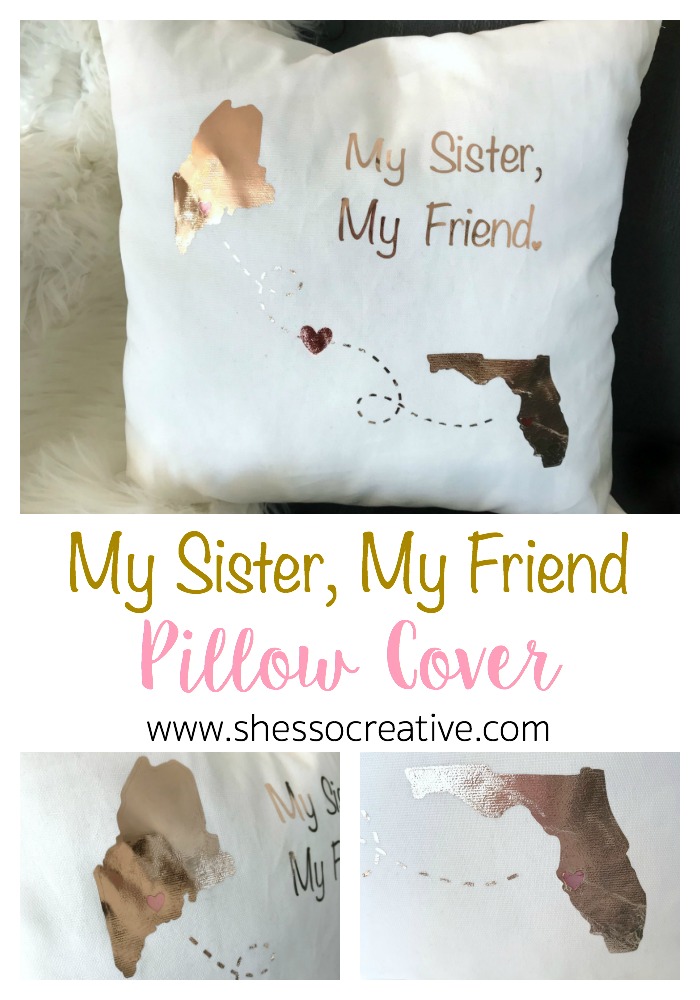
Once everything is set exactly how you like it, group it together. Make sure you fit the image to about 14″ x 14″, so it will fit in the middle of your pillow, but isn’t too close to the seams.
Next, cut it out. Make sure you set your cut to mirror image because this is iron on foil. You need this to cut out “backwards”, so it’s facing the right way when you place it down on the fabric.
Weed all the pieces out of your letters (example: the weed the foil out of the hole in the “e”)
Cut the fabric into 2 – 17″ x 17″ squares.
Take one of the squares and center the image on the front. Iron it on according to your iron’s fabric setting or heat press instructions.
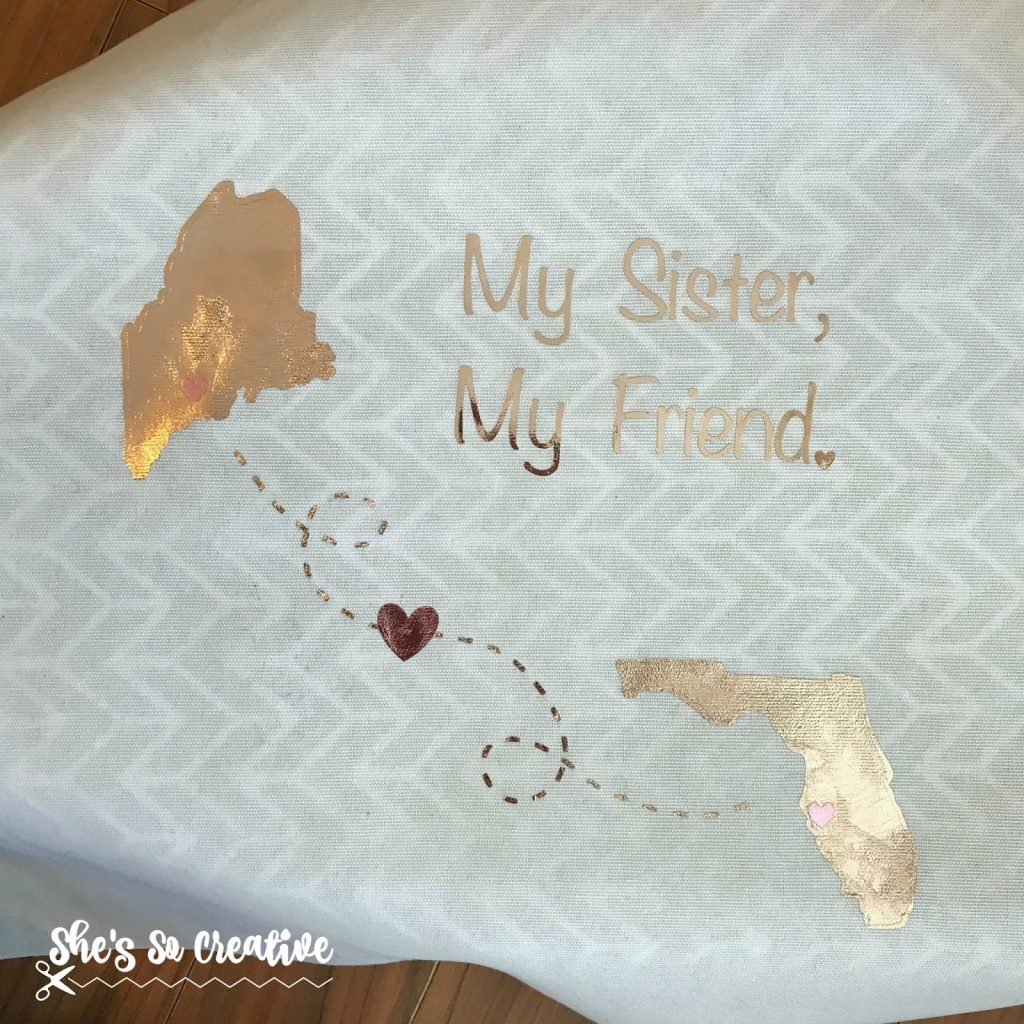
>>I used the cotton setting on my iron, placed a piece of flannel over the plastic sheet, and ironed for about 30 seconds. I then hand pressed the foil and repeated the 30 seconds with the iron. I went back and forth between hand pressing and ironing a few times on both sides. It was a little tricky to get the foil onto the utility fabric, but within 10 minutes I had this process complete.
Once you have the image on one square, take the other square and lay it over the top. Pin it in place and sew all the way around, leaving a 6″ opening in the middle of one side (not at the corner; make sure all corners are sewn).
Clip the triangle tip off each corner, up against the thread, but making sure not to clip the threads.
Turn the pillow cover right side out.
Fold the pillow form in half as much as possible and stuff it inside the pillow cover. Reach inside and fluff the pillow up, getting each pillow corner into each pillow cover corner.
Once the pillow form is perfectly fit into the pillow cover, thread your needle and use the invisible stitch and sew the cover closed.

And that’s it! You now have a My Sister, My Friend Pillow Cover!
Super quick and easy, but very sweet and special!
I’d love to hear what you think! Come on over and join the She’s So Creative Crafter Community on Facebook to share your finished projects with me!

Written pattern and photographs © 2019 Sonya Blackstone of She’s So Creative. Please do not sell, share, or modify this pattern, but instead share the link to where the pattern can be found. Do not use these photos for advertising without written permission. Do not post this tutorial on your own website without written permission. You may sell any finished items you create using She’s So Creative tutorials.
Sonya Blackstone is a participant in the Amazon Services LLC Associates Program, an affiliate advertising program designed to provide a means for us to earn fees by linking to Amazon.com and affiliated sites.