

Handmade kitchen accessories are so fun! I love how you can really make your kitchen exactly what you want it to be, so let’s learn how to make an oven mitt with this free oven mitt sewing pattern, because we always need them!
I had an apple themed kitchen (didn’t everyone at some point?!), but recently I’ve decided I’d like to see something new. It just so happens that we have a few pot holders and oven mitts that need a serious replacing. Every time I go to the store, I forget to grab some, so today I’ve decided to make them instead!
At no extra cost to you, I may receive a small commission from purchases made through affiliate links, which allows me to continue bringing you awesome free content! This post contains affiliate links.
I wanted to make this as quick and easy of a process as possible. Instead of printing out a pattern, I decided to just trace the one I have, and I’m so happy I went this route. You can easily replicate your favorite mitts using this tutorial!
So grab an oven mitt and your favorite kitchen themed fabrics and let’s get started: how to make an oven mitt!
Materials
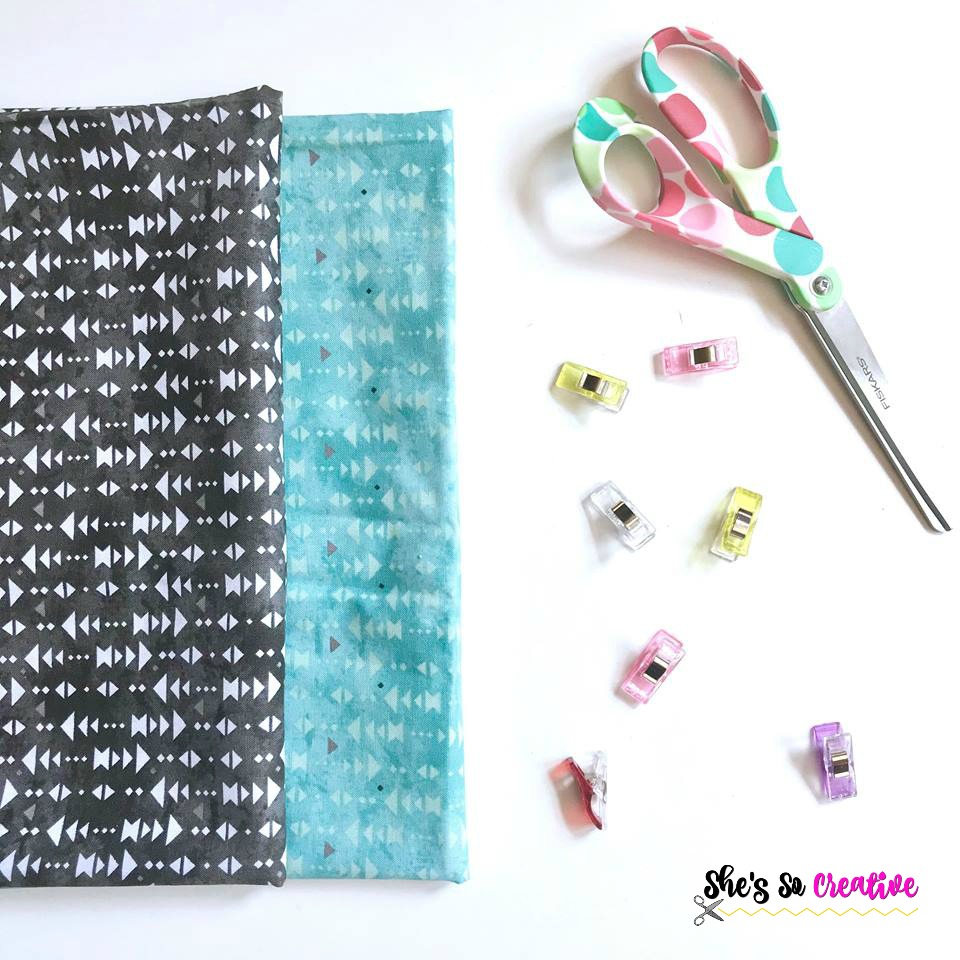
2 – Fat Quarters (You can get this fabric from AdornIt)
- Main (A)
- Accent (B)
1/2 yd Insul-Bright
Iron-on Adhesive
Rotary Cutter
Cutting Mat
Pins or Clips
Scissors
Iron
Sewing Machine
100% Cotton Machine Thread
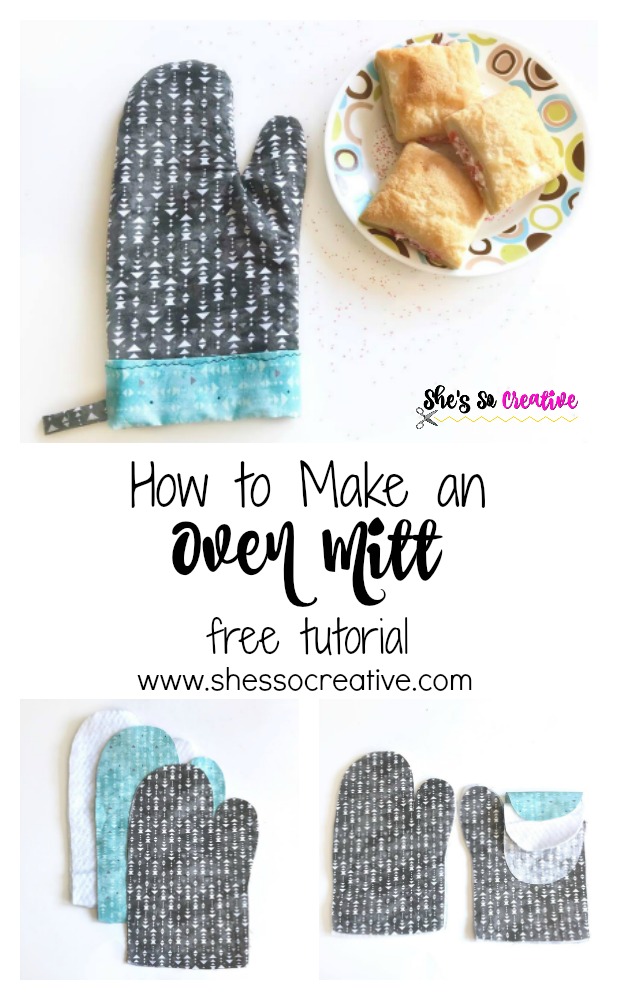
Finished Measurements
Approx. 6″ x 11.5″
Skill Level
Easy
Craft Time
Under 2 Hours
Notes
- Use 1/2″ seam allowance throughout.
- You can follow these same instructions using a pot holder.
- Materials listed will yield 4 oven mitts, or 2 oven mitts and 2 pot holders.

Instructions
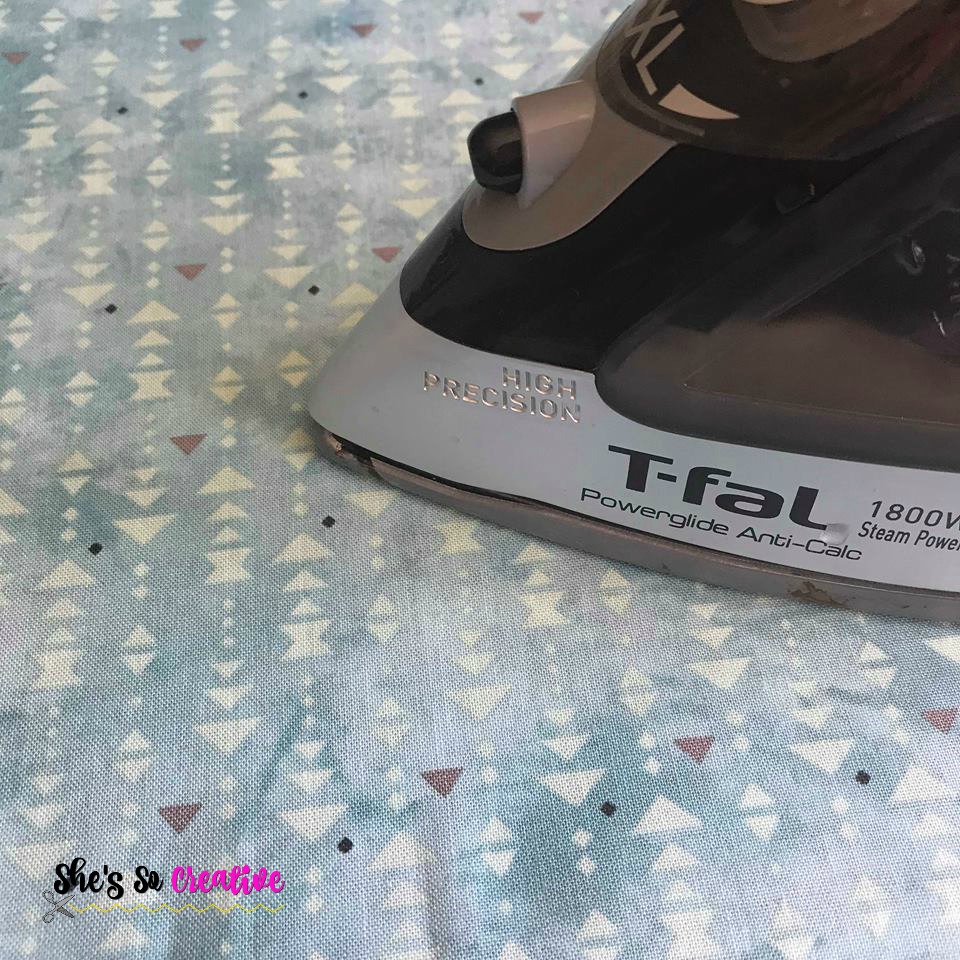
Wash, dry, and iron fabric flat.
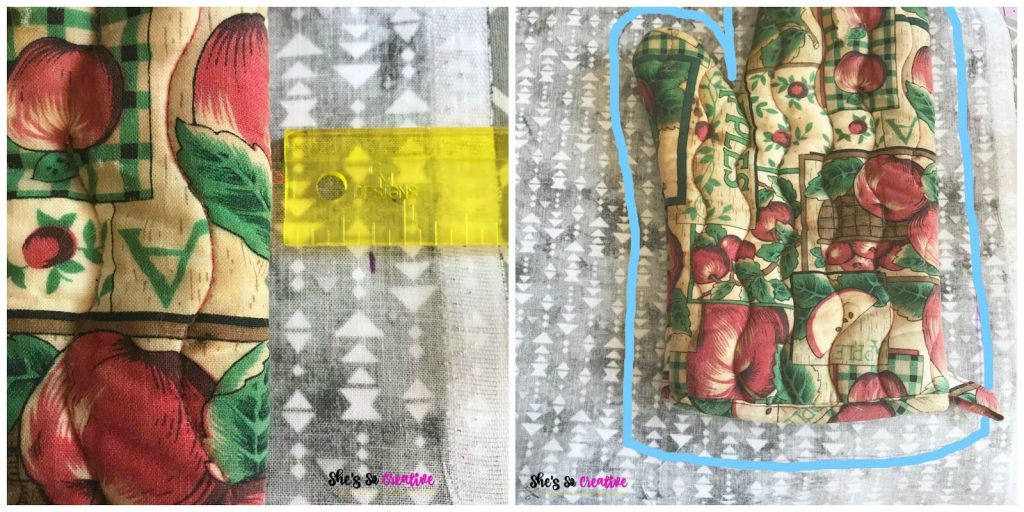
Place oven mitt on wrong side of main fabric, trace an outline of the oven mitt 3/4″ from the mitt, and cut it out. Note: I also added 3/4″ to the bottom, because I wanted my mitt just a bit longer.
Place cut out wrong side to wrong side (mirror image) on main fabric, trace around it, and cut it out.
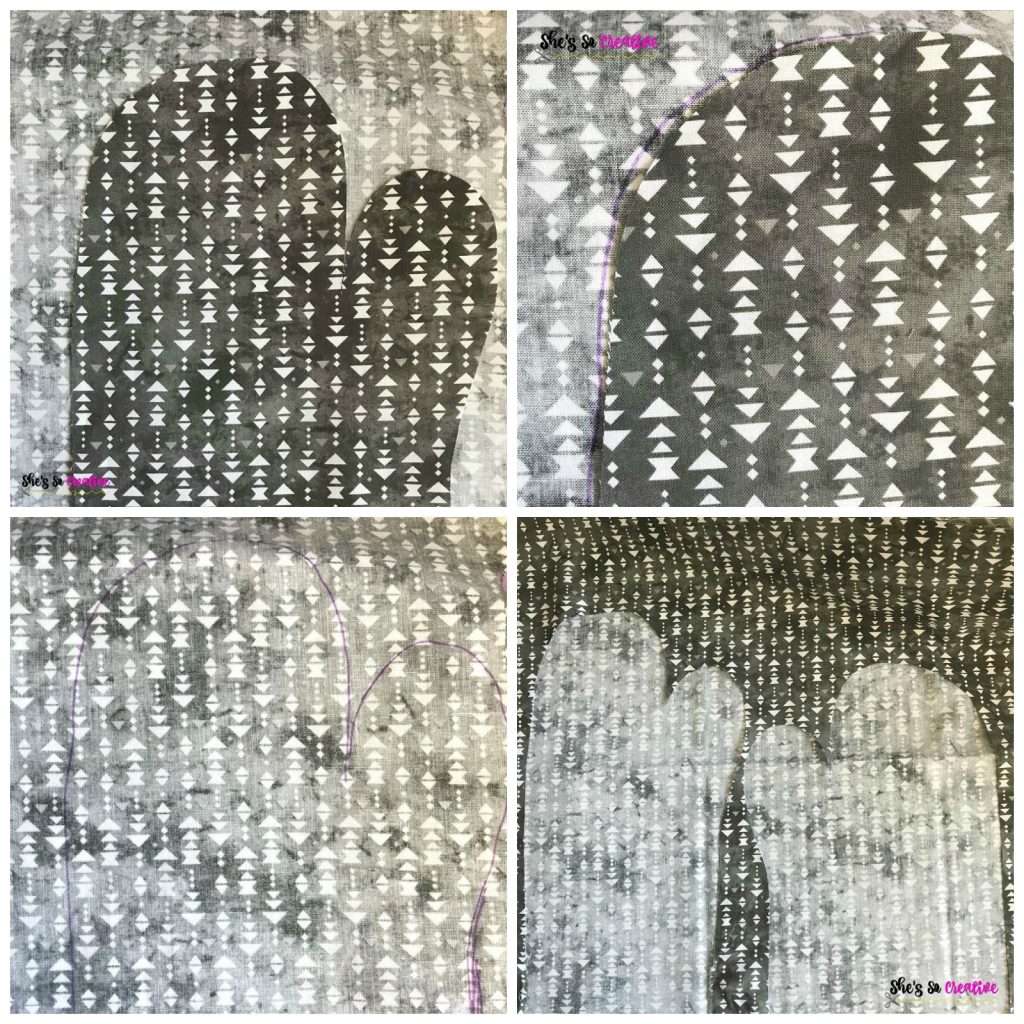
Place the first cut out on accent fabric, trace, and cut [make two (mirror image)]. Repeat with Insul-Bright, making 2 of each.
Stack pieces (1 main fabric, 2 Insul-Bright, 1 accent fabric), so Insul-Bright is sandwiched between the wrong sides of Main Fabric & Accent Fabric (right sides will be facing out).
Note: For extra protection, use one cut of Insult-Bright and one cutting of cotton batting, and stack the two pieces between fabrics.
Pin or clip in place.

Sew the stacked pieces together around the outside (not across the bottom); repeat with other stack.
Optional: Stitch lines from top to bottom or side to side to create a “quilted” look to your mitt before continuing.
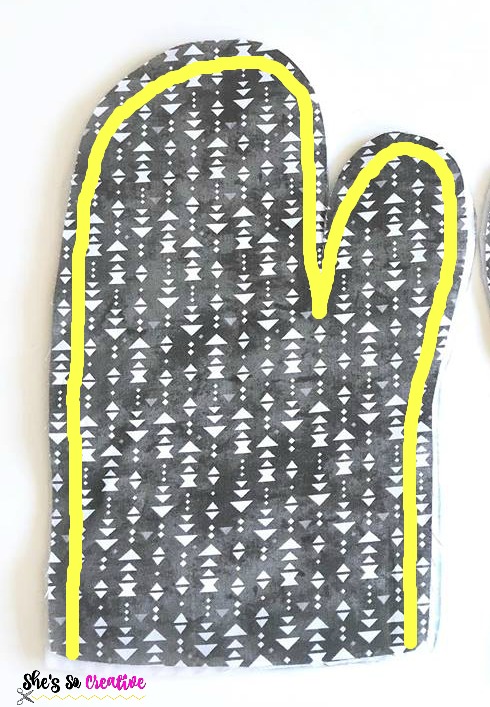
Then place the two stacked pieces with main fabric together, sew around the outside across the bottom. Flip right side out.
Hanger: With main fabric, cut a 5″ x 1.5″ piece. Fold in half (the short side), right sides together, and sew along the long edge. Turn right side out.
Trim: With accent fabric, cut a 13.5″ x 4.25″ piece. Fold in half (the long side), right sides together and mark the halfway point.
Fold hanger in half, place 2″ from the bottom of the trim, so raw edges of hanger align with raw edges of trim. Sew down the short edge, sewing a few times over the hanger for extra stability.
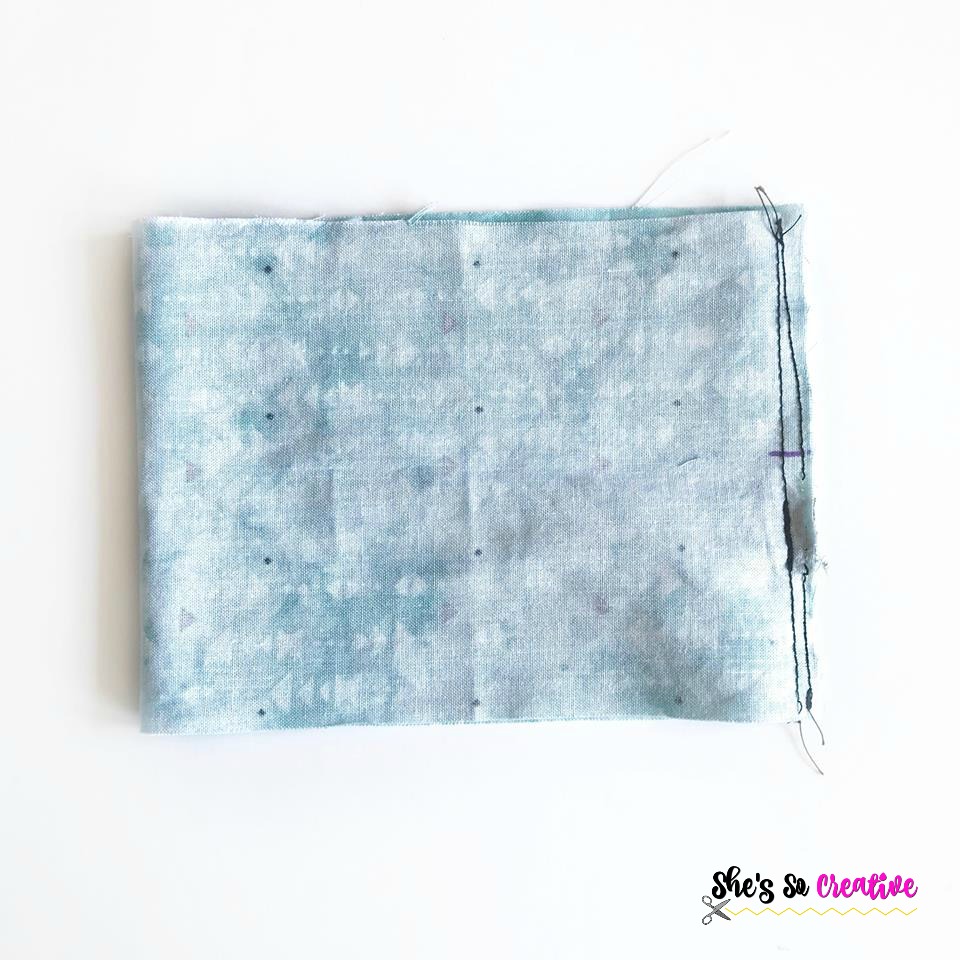
Fold the long edges over 1/4″ towards the inside of fabric and sew down the edge closest to hanger, using a decorative stitch.
Insert trim into the oven mitt, up to the halfway mark. Place iron-on adhesive between the trim and inside of oven mitt. Then carefully fold the trim over, the top of the oven mitt. Place iron-on adhesive between the trim and outside of oven mitt as well. Now, iron the trim on the inside and then the outside to hold in place. You may also hand stitch the trim into place if you feel more comfortable.
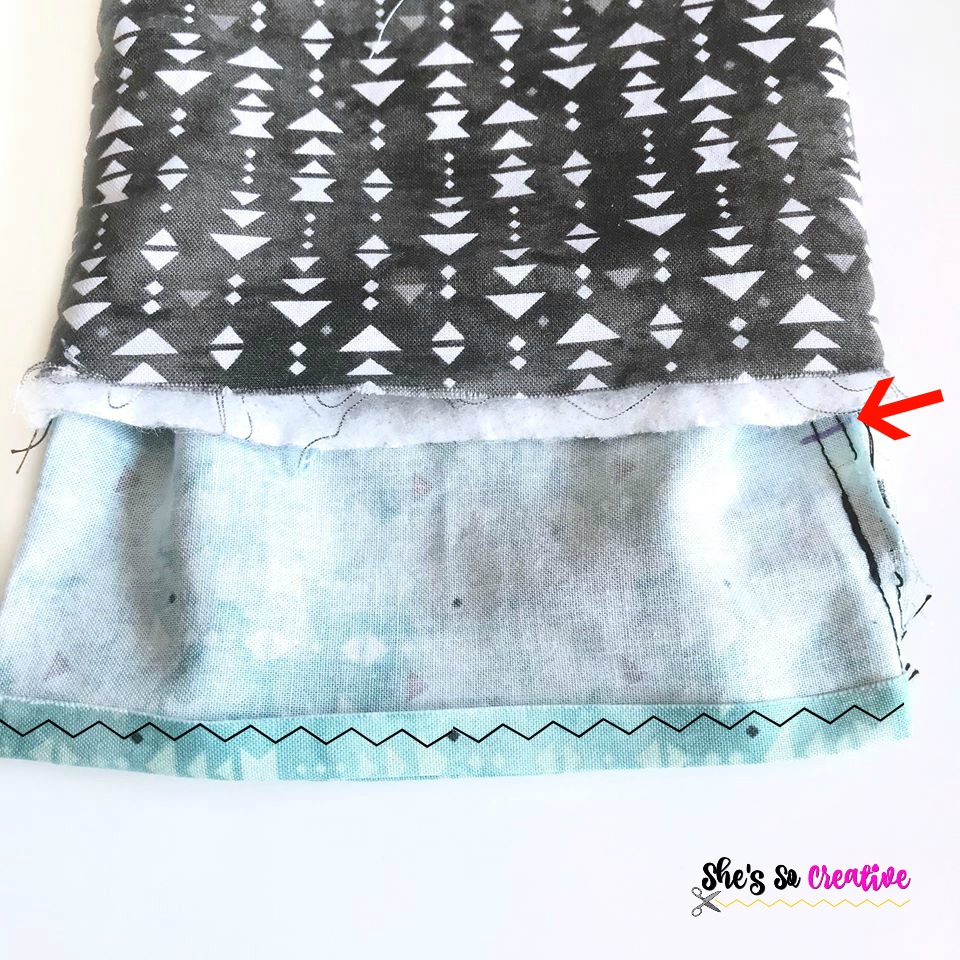
That’s how to make an oven mitt!
Now you have a pretty new oven mitt in your favorite fabric! Feels good to make it yourself, right?!
You can follow this same method with pot holders, just add bias tape!
Until we stitch again,
Come on over and join the She’s So Creative Crafter Community! And don’t forget to like me on Facebook and Instagram!

Written pattern and photographs © 2018 Sonya Blackstone of She’s So Creative. Please do not sell, share, or modify this pattern, but instead share the link to where the pattern can be found. Do not use these photos for advertising without written permission. Do not post this tutorial on your own website without written permission. You may sell any finished items you create using She’s So Creative tutorials.
Sonya Blackstone is a participant in the Amazon Services LLC Associates Program, an affiliate advertising program designed to provide a means for us to earn fees by linking to Amazon.com and affiliated sites.