

If you read my very first post, 10 Crafts You Must Try, then you know that I am also a crochet designer. One of my very first designs was a Tooth Fairy Pillow and it’s also one of my favorites. Once I had it finished, I was so excited, it gave me butterflies!
So, I thought it would be really fun to recreate it as my first sewing pattern. You can also get the free Crochet version HERE.
At no extra cost to you, I may receive a small commission from purchases made through affiliate links, which allows me to continue bringing you awesome free content! This post contains affiliate links.
Want to make the sewn version of the Tooth Fairy Pillow? Read below:
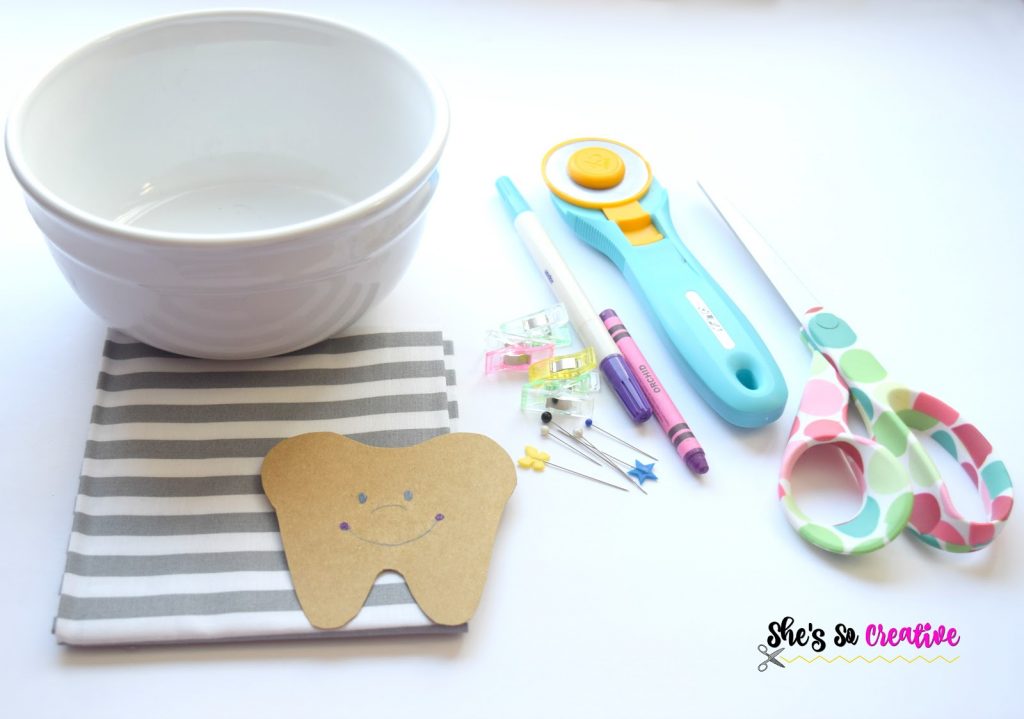
MATERIALS
Fat Quarter
White Felt Sheet
Black 3-D Fabric Paint
Pink Crayon
Stuffing
Scissors or Rotary Cutter
Needle and Thread
Optional: Sewing Machine
Optional: Any Color 3-D Fabric Paint
SKILL LEVEL
Easy
CRAFT TIME
Under 2 Hours
FIND IT ON PINTEREST!
FIND IT ON YOUTUBE!
INSTRUCTIONS
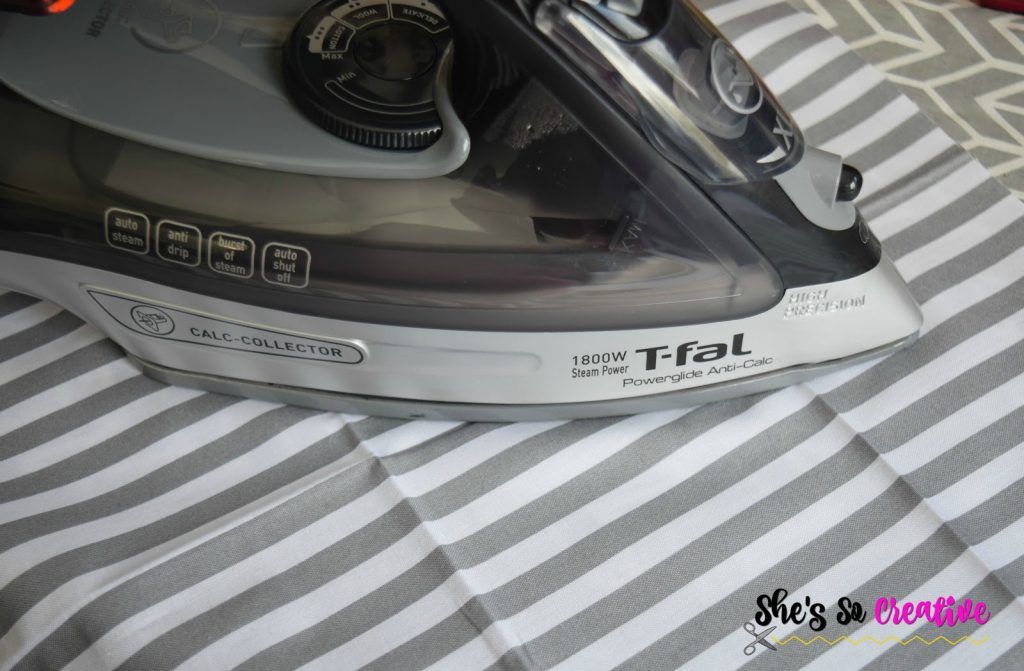
1. Wash and Iron Fabric
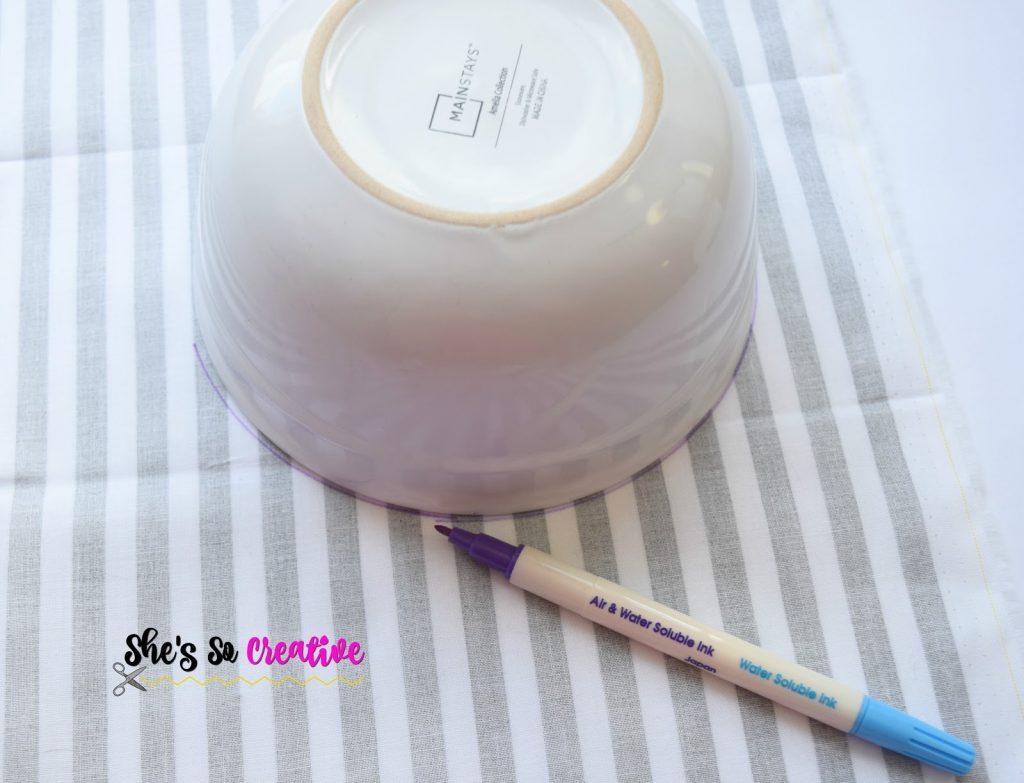
2. Trace around a large round object (twice). The size is up to you!
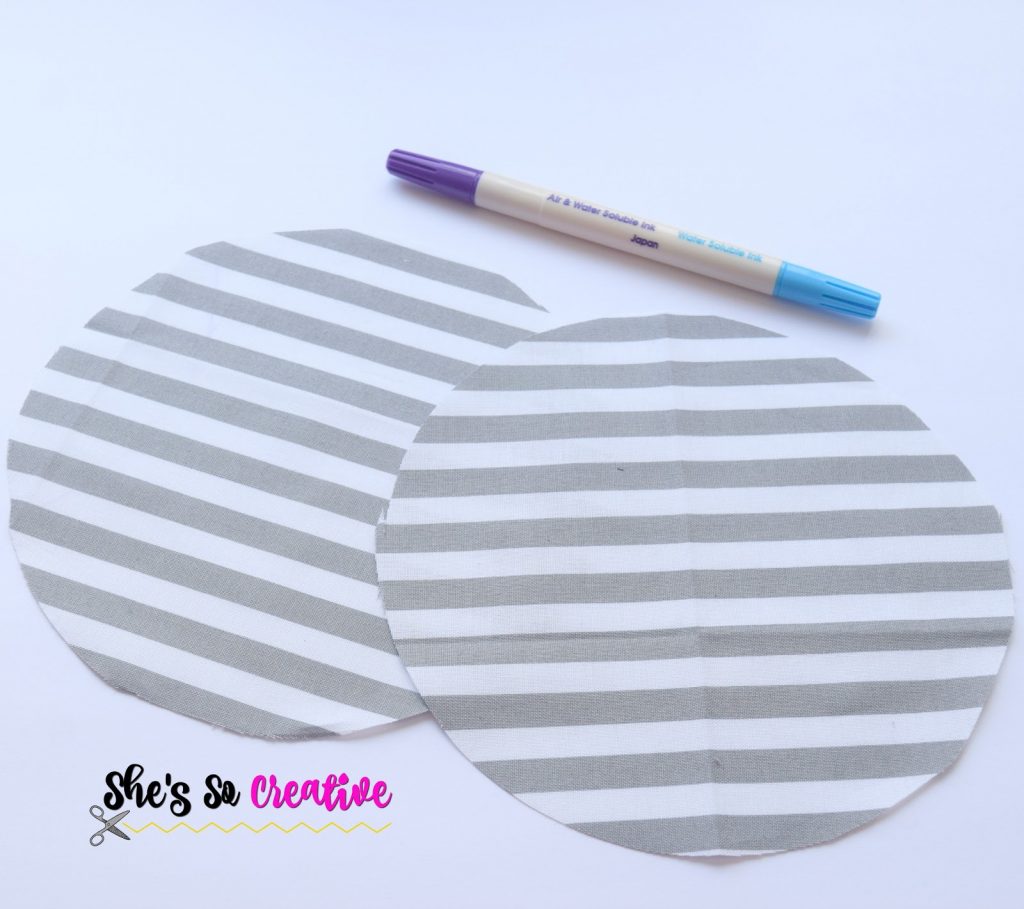
3. Cut out two circles.
4. Optional: Create a tooth template out of cardstock or another thick paper.
You can also use my TOOTH TEMPLATE if you prefer.

5. Place tooth template onto felt sheet and trace around it.

6. Cut out felt tooth. This can be freehand drawn directly onto the felt if you prefer not to make a template.

7. Pin felt tooth to center of one circle, on the decorative side
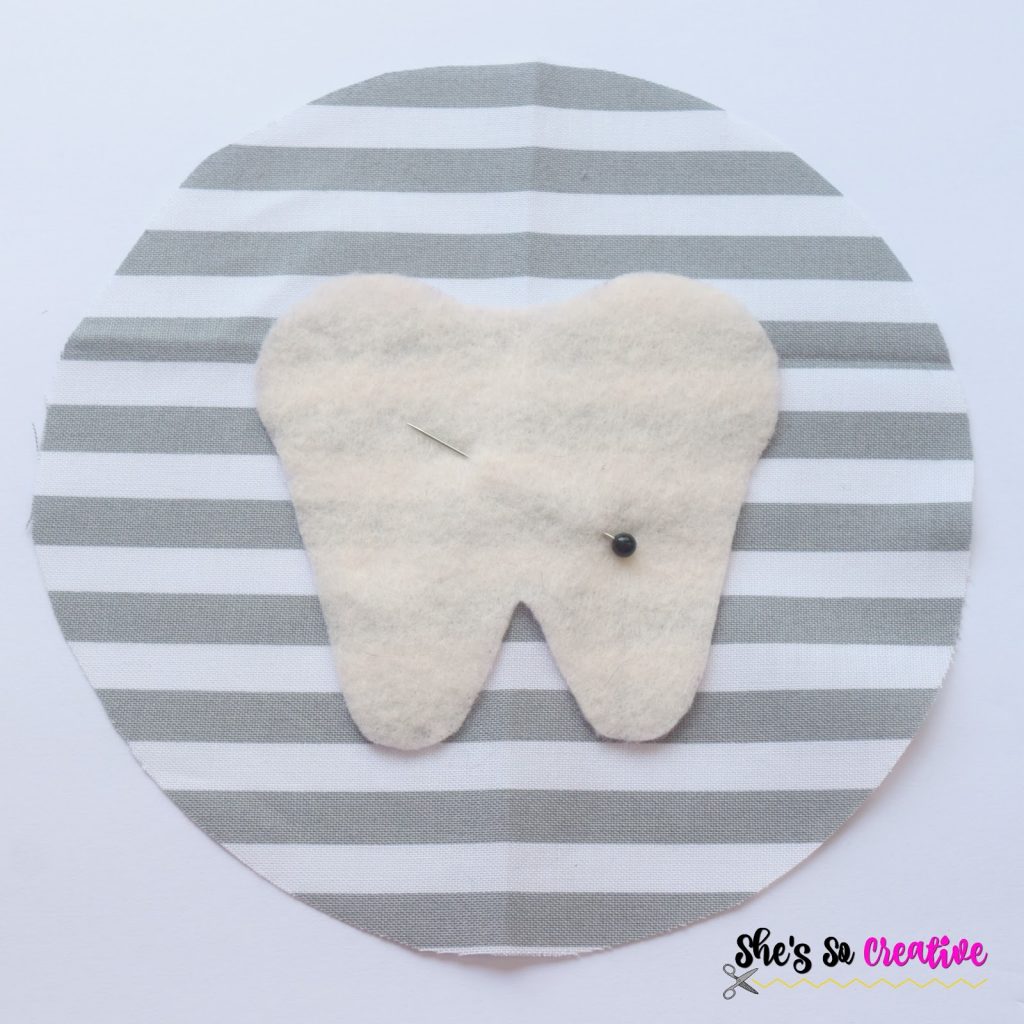
8. Topstitch the sides and bottom of the tooth onto the fabric, using a 1/4″ seam allowance, leaving the top open.

9. Color ‘cheeks’ onto the tooth with a pink crayon.
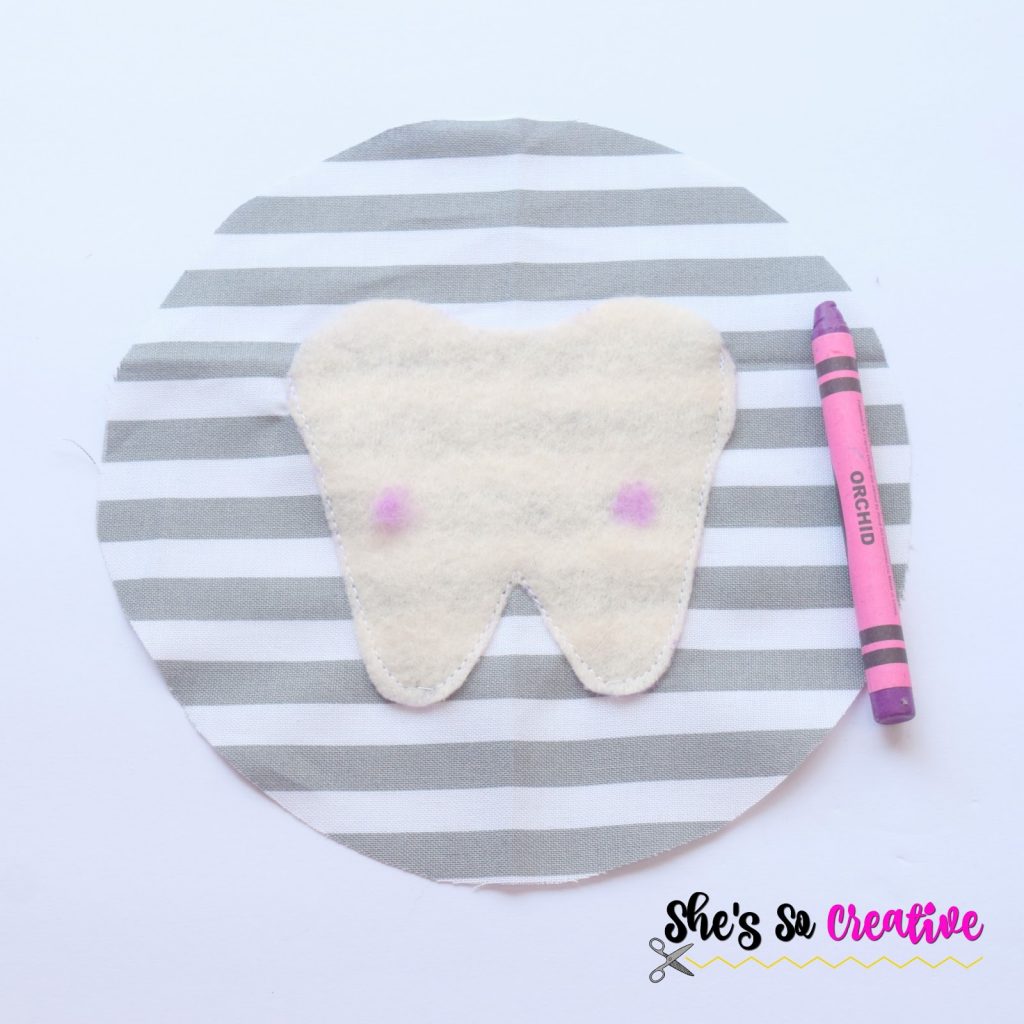
10. Using Black 3-D Fabric Paint: draw face onto the tooth.
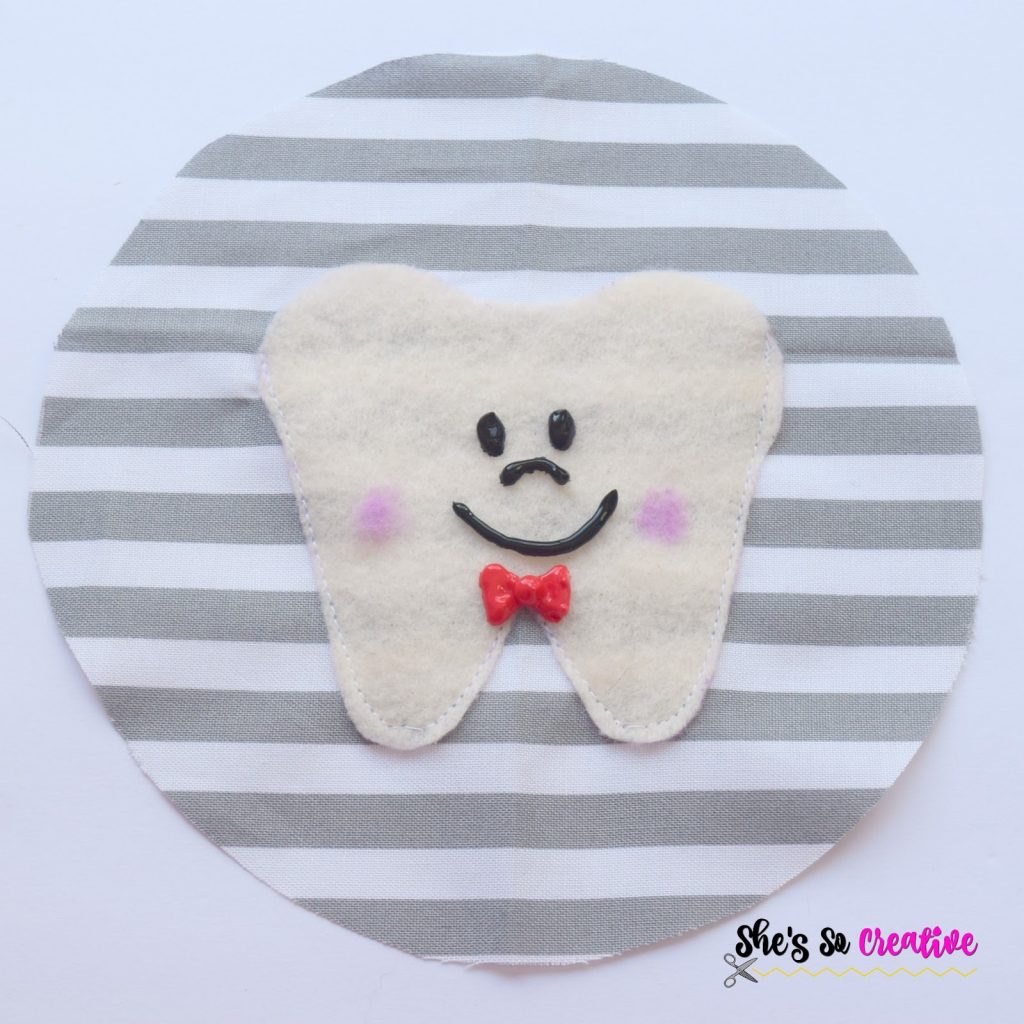
Optional: Use colored 3-D Fabric paint and add a bowtie or hairbow.
ALLOW FABRIC PAINT TO DRY THOROUGHLY (ACCORDING TO PACKAGE INSTRUCTIONS) BEFORE CONTINUING


11. Pin or clip the two circles together, with the right sides touching, and sew around the outside, using a 1/4″ seam allowance. Leave a 1.5″ opening at the top for turning.

12. Notch all the way around the outside of the circle, so that the point of each triangle is up against the seam. Be careful not to cut through the stitches!

13. Turn pillow right sides out and stuff. The pillow should be firmly stuffed, to make it a round circle, but don’t over stuff, so the seams don’t break.

14. Sew (or glue) the opening shut.

And now you have a really cute tooth fairy pillow that any child is sure to love!
What colors will you make yours in? Tell me in the comments!
Thanks for stopping by!
Come on over and join the She’s So Creative Crafter Community! And don’t forget to like me on Facebook and Instagram!

Written pattern and photographs © 2018 Sonya Blackstone of She’s So Creative. Please do not sell, share, or modify this pattern, but instead share the link to where the pattern can be found. Do not use these photos for advertising without written permission. Do not post this tutorial on your own website without written permission. You may sell any finished items you create using She’s So Creative tutorials.
Sonya Blackstone is a participant in the Amazon Services LLC Associates Program, an affiliate advertising program designed to provide a means for us to earn fees by linking to Amazon.com and affiliated sites.